*This posting contains advertising.
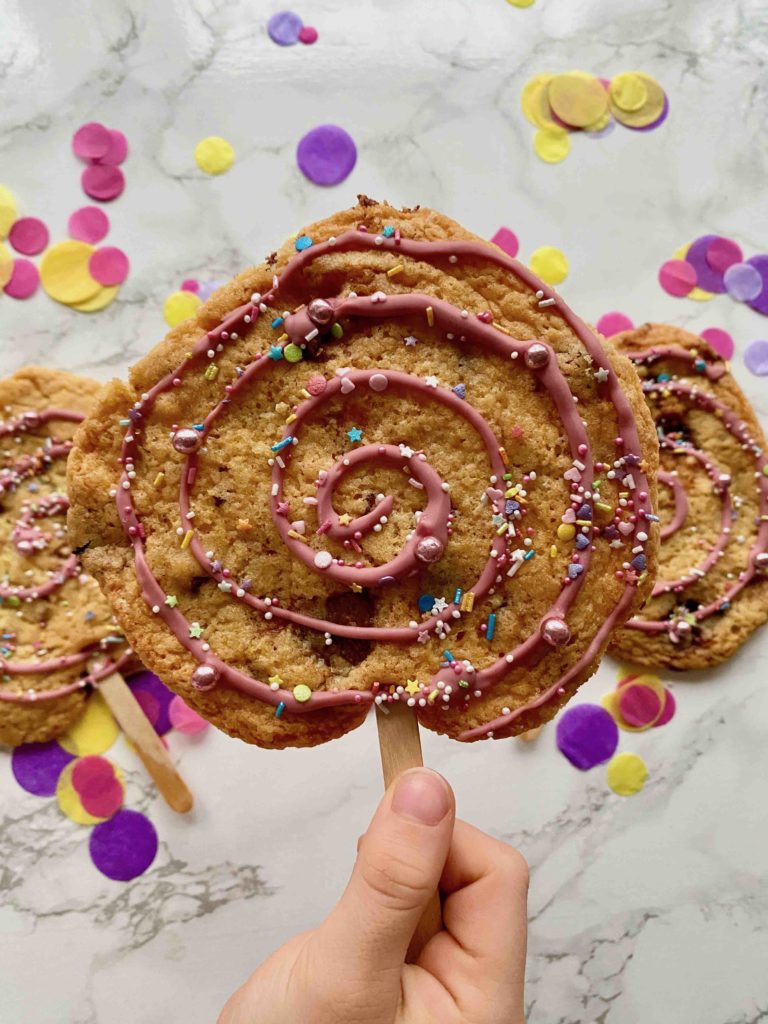
Carnival is just around the corner! Bring on the brightly colored party snacks for children! The easy-peasy recipe for our brightly colored cookies on a stick is just the thing for your next party!
Are you also looking for simple but fun party snacks for your kids' carnival party? Today we have a very special treat for your kids and you: our brightly colored cookies on a stick! The SUPERCOOKIE on a stick! The ultimate party snack fors! the little ones!
We love cookies! In every variant! Regardless of whether Chocolate Chip Cookies or fruity lemon cookies, Cookies are always welcome here! The foolproof recipes are perfect for baking with children and between you and me, I don't know anyone who doesn't like cookies. Do you?
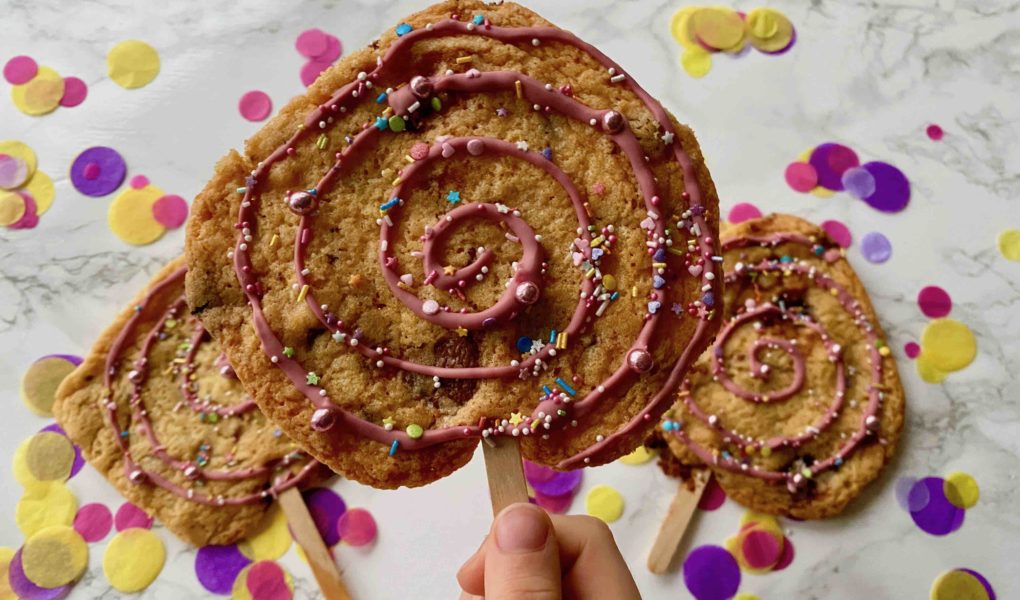
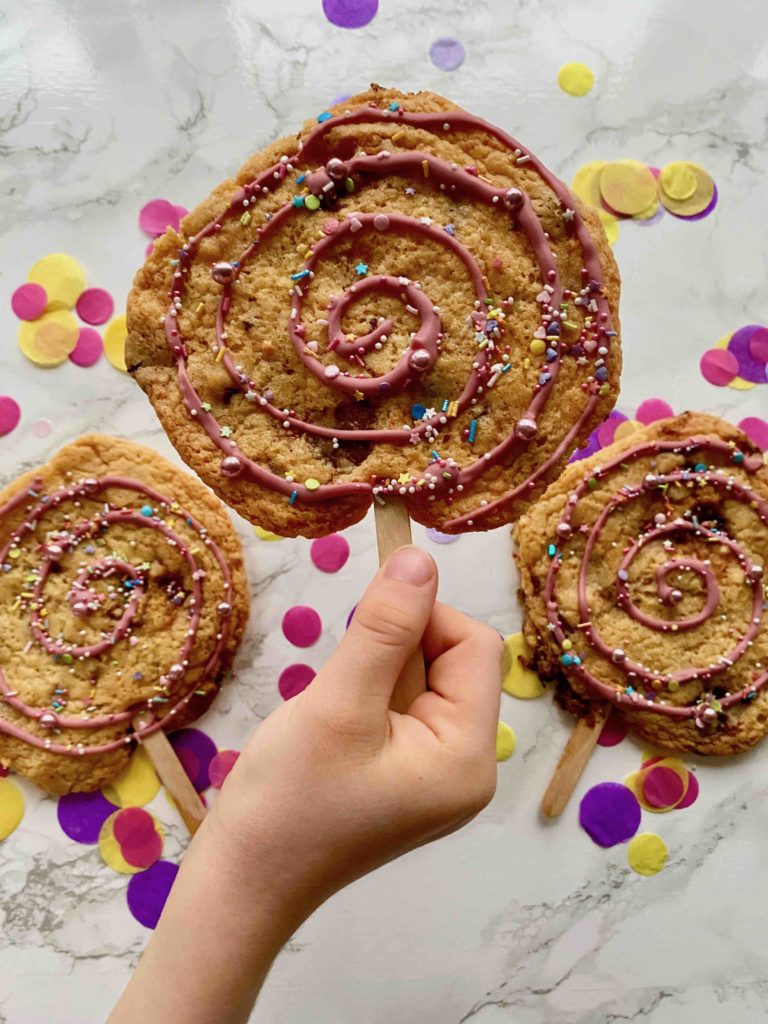
For Carnival we have crunchy cookies on a stick: brightly colored cookie lollipops!
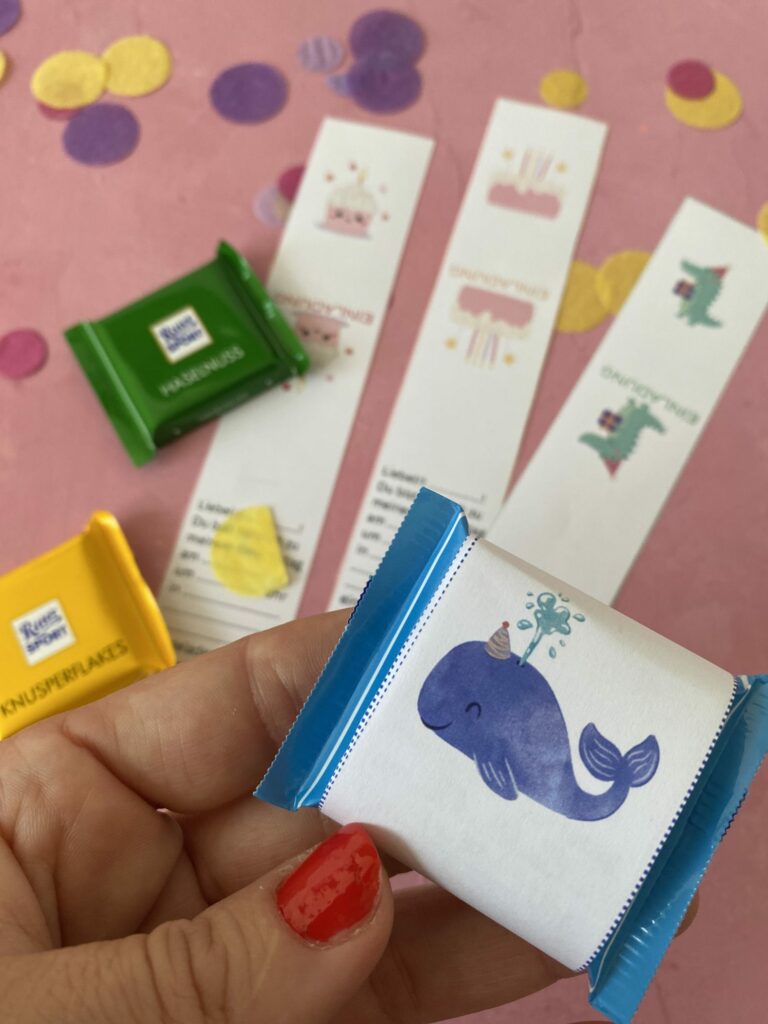
Chocolate children's birthday invitation
With our children's birthday banderoles for Ritter Sport Minis you can create a unique invitation for your child's birthday!
A lovingly designed banderole (if necessary with a preconceived invitation text) for parents with little time!
Recipe for our crispy & brightly colored cookies on a stick
For the cookies on a stick today we created an “Every Chocolate” cookie. That means we used our leftover chocolate in the lollipops. Cookies are great for using up leftover chocolate! Various chocolate bars and chocolate chips from the Halloween and Christmas seasons were used for our cookies on a stick. The colorful chocolate mixture tastes great in the cookies! If you are more of a “classic” type, you can of course also bake classic dark chocolate.
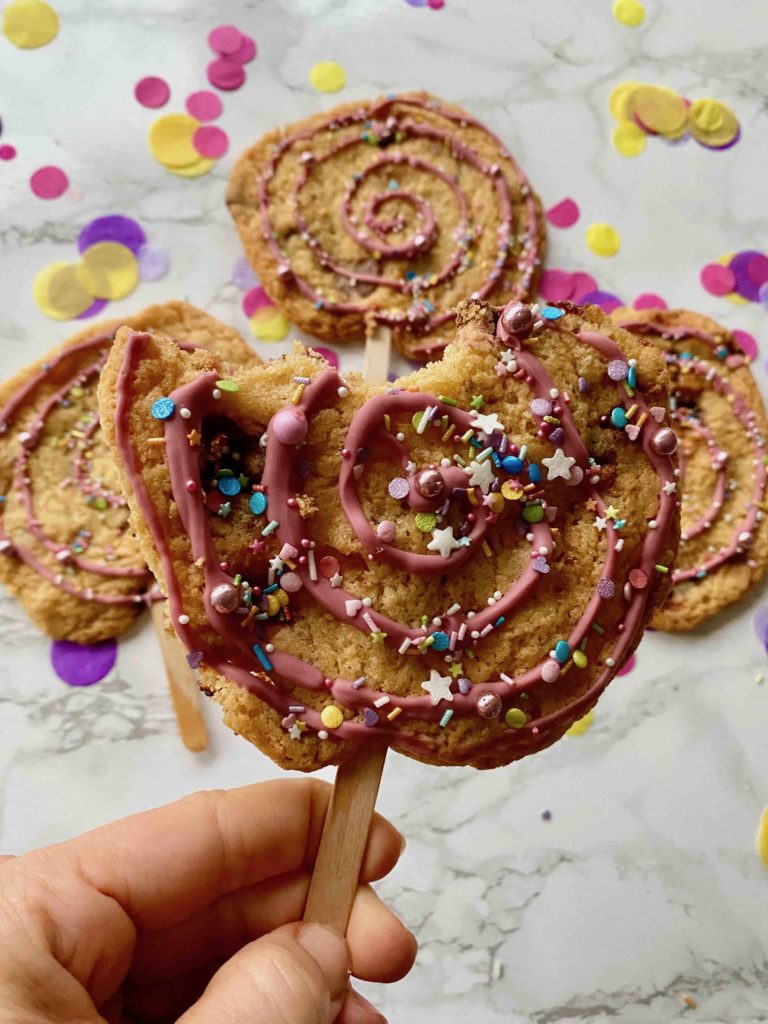
Ingredients for approx. 20 brightly colored cookies on a stick
Cookie dough
- 280 g spelled flour
- 1 teaspoon baking powder
- 1 pinch of salt
- 180 g margarine or butter (liquid)
- 120 g brown sugar
- 140 g granulated sugar
- 1 egg
- 250 g chocolate (we used a delicious mix of leftover chocolate: Snickers, Milkyway, Lions from Halloween and another chocolate Santa)
Decoration
- 100 g ruby chocolate* (we used the Happy Melts from Goodbake)
- Colorful sugar sprinkles* (we used “Confetti Parade” by Superstreusel)
Discount code for your purchase at GoodBake: With the discount code “LIA12” you save 12% on your purchase from Goodbake.
Baking accessories
Kitchen scales, board, kitchen knife, fine kitchen sieve, bowl, mixing bowl, hand mixer, dough scraper, 2 teaspoons, baking tray, baking paper, 20 ice cream sticks*, cooling rack, Cooking pot and melting bowl* for the water bath, Disposable piping bag* (also from GoodBake)
Preparation
- Roughly chop the chocolate with a knife (or use chocolate chips)
- Sift spelled flour, baking powder and salt into a bowl
- Melt margarine or butter in the microwave or in a water bath
- Preheat oven to 170°C top/bottom heat
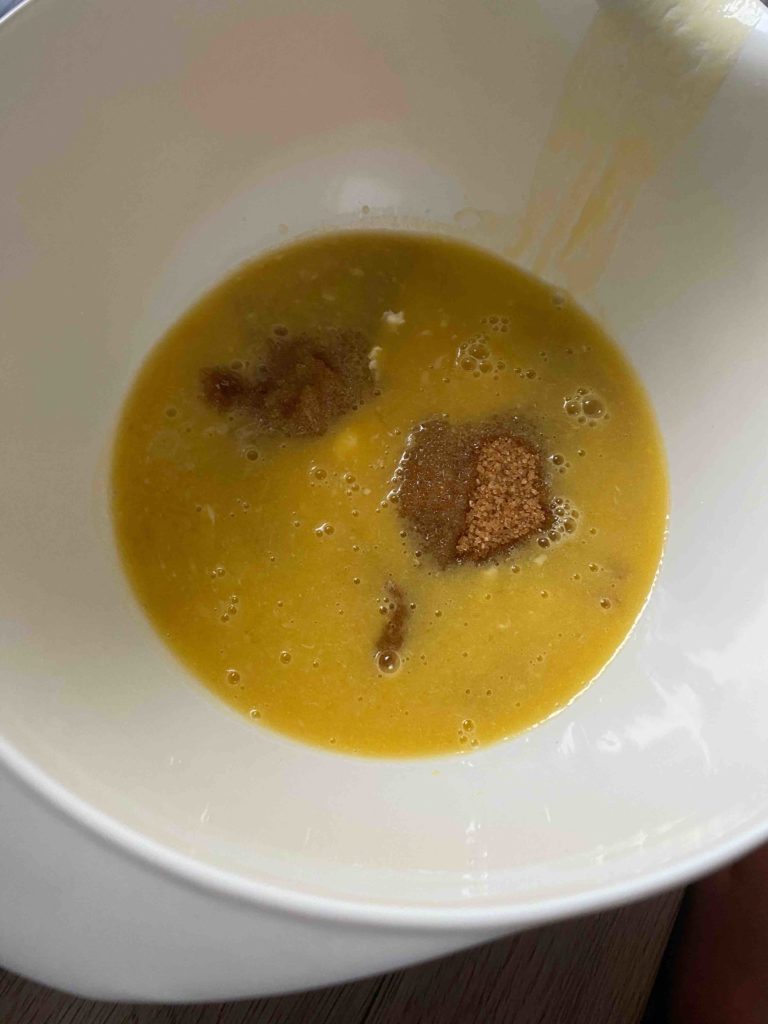
- Mix the liquid butter (or margarine) and sugar with a hand mixer until the sugar has dissolved and the dough becomes a little “thicker” (stir for approx. 2-3 minutes).
- Add the egg and beat until the dough becomes a little lighter
- Briefly stir the flour, baking powder and salt mixture into the dough.
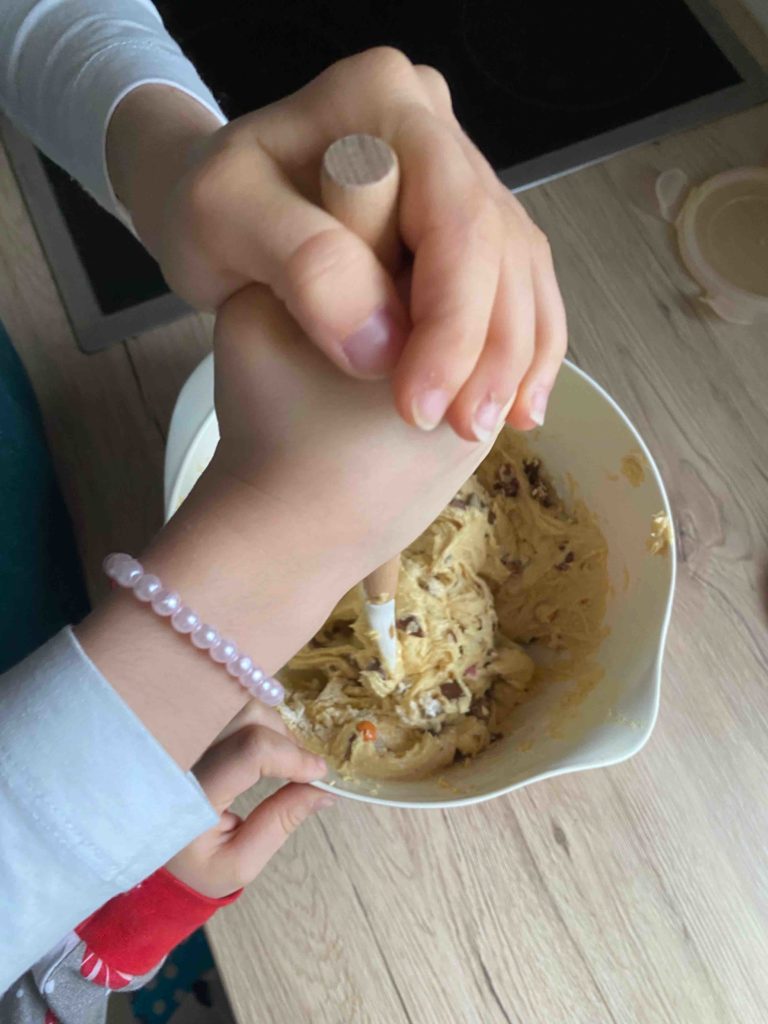
- Use the spatula to fold the chopped chocolate evenly into the cookie dough
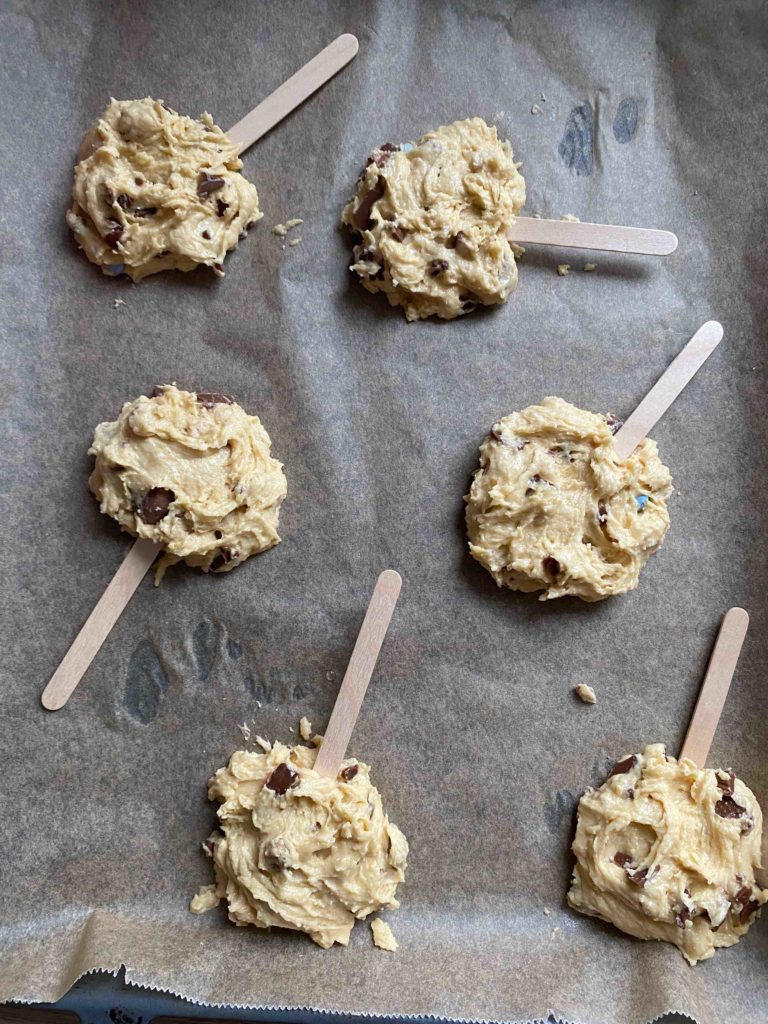
- Using two teaspoons, spread blobs (approx. 3 cm in diameter, approx. 2 heaped teaspoons) about 4-5 cm apart on the baking tray lined with baking paper and insert the ice cream sticks into the blob (see instructions in pictures). Mini tip: no more than 8 cookies on a stick per tray, as the cookies will spread apart during baking and otherwise bake together
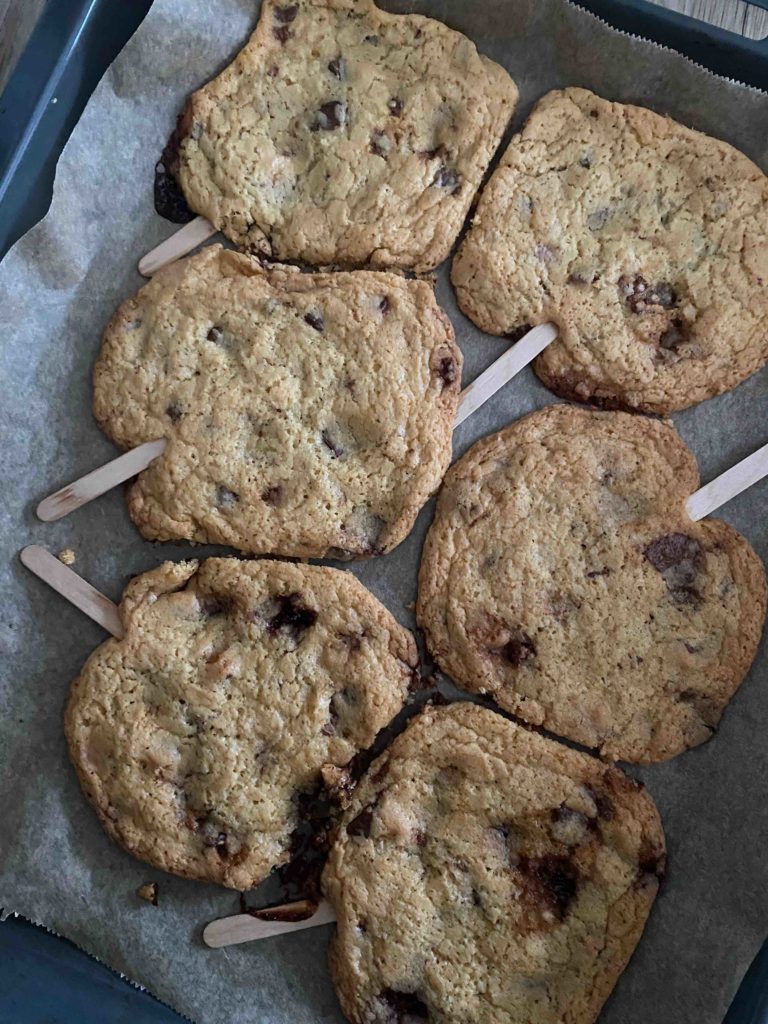
Mini-Tip: If your cookies stick together, you can separate them with a knife right after baking since they haven't hardened yet. If they have already cooled down, they harden and can break when separated.
- Bake the cookies on a stick for about 15 minutes at 170°C. Since ovens bake differently, you should take a look in the oven after 12 minutes: if the edges of the cookies are slightly browned, they are ready and can be taken out of the oven. Even if they still seem raw in the middle, they continue to “bake” outside of the oven and come out just right
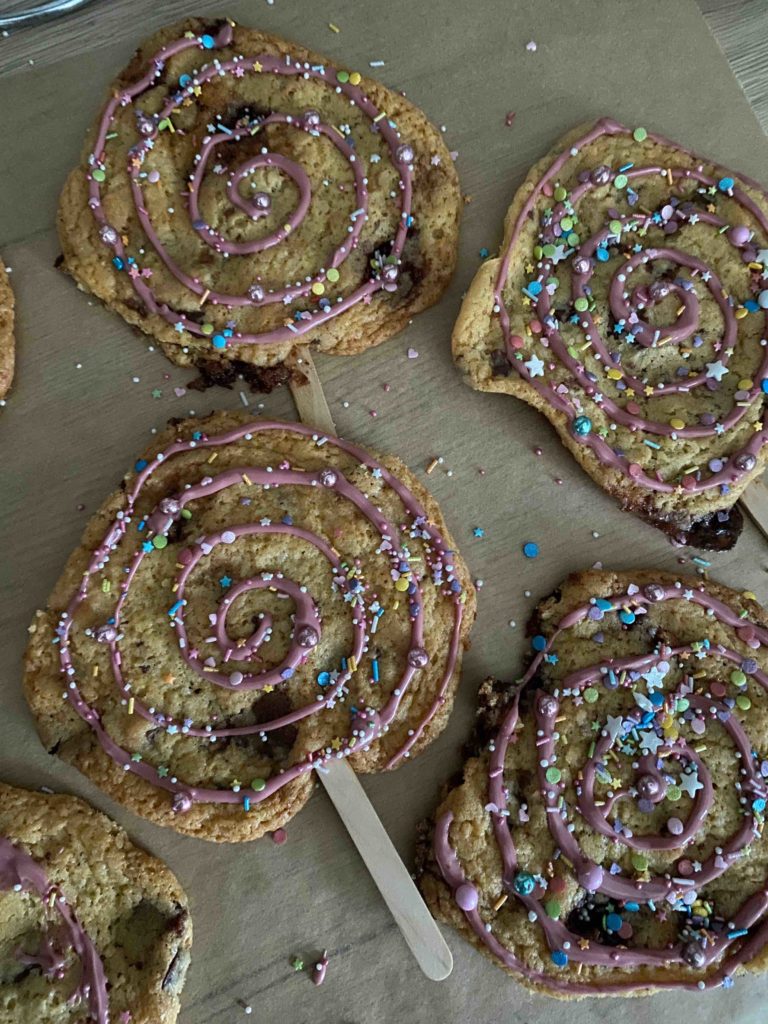
- Die Cookies-Lollis erst ca. 10 Minuten auf dem Blech abkühlen lassen und anschließend auf dem Abkühlgitter gut abkühlen lassen. Überträgst du sie frisch aus dem Backofen auf das Abkühlgitter, sind sie noch weich und nicht ausgehärtet und brechen leicht! Während des Auskühlens die „Happy Melts“ im Wasserbad schmelzen. Wir haben die flüssigen Happy Melts in einen Einwegspritzbeutel gegeben und spiralförmig auf die Cookies gemalt und anschließend mit Zuckerstreusel berieselt. Du kannst die Cookies am Stiel ganz nach Belieben dekorieren!
The colorful cookies on a stick are ready for the carnival party!
Preparation in pictures
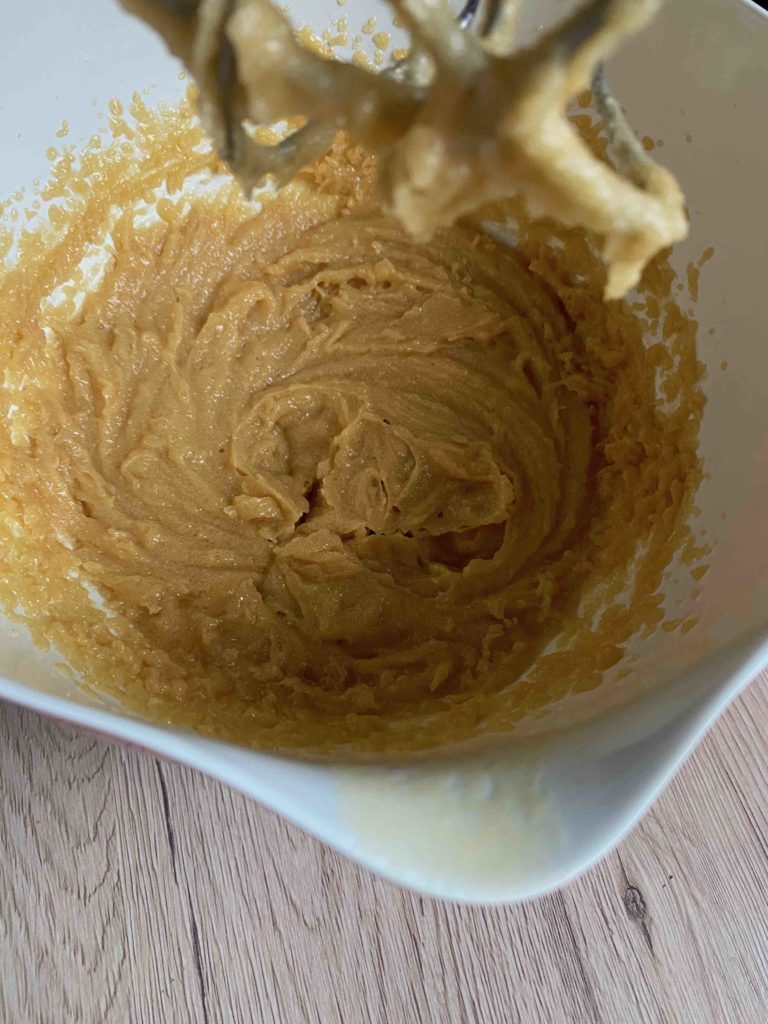
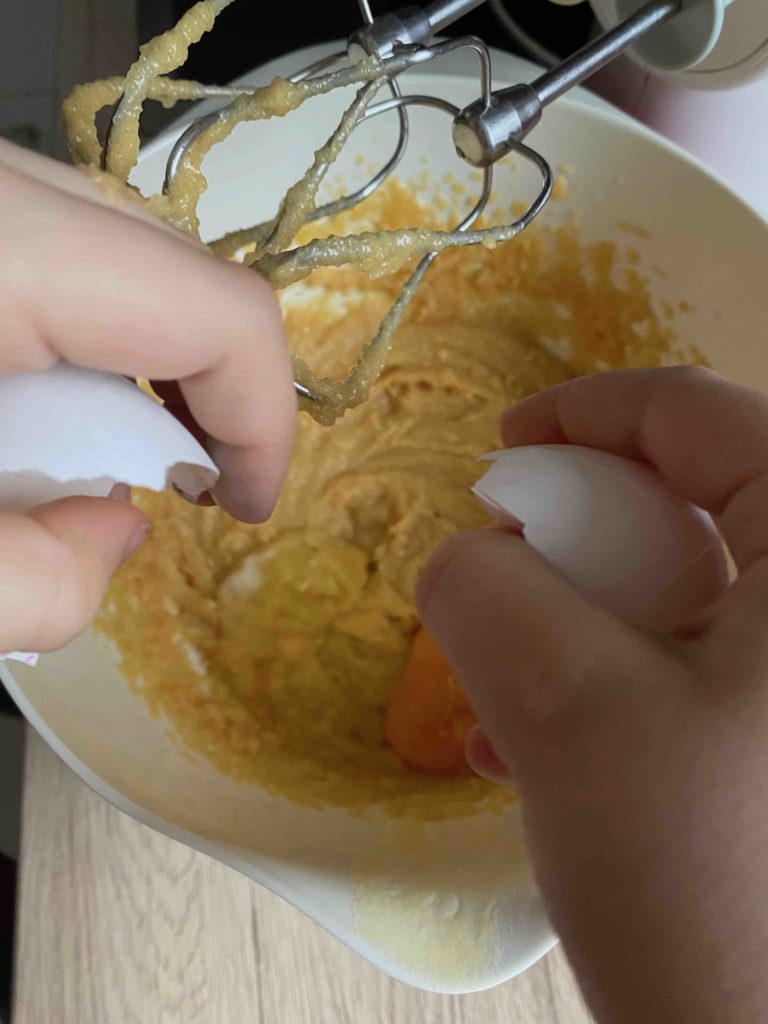
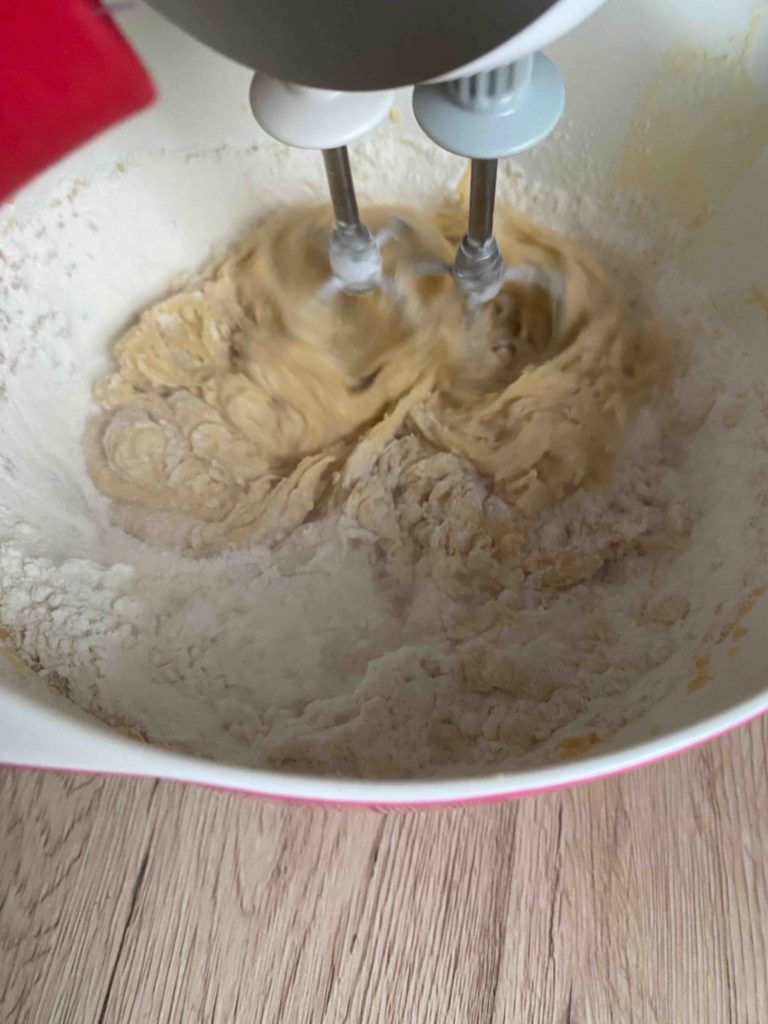
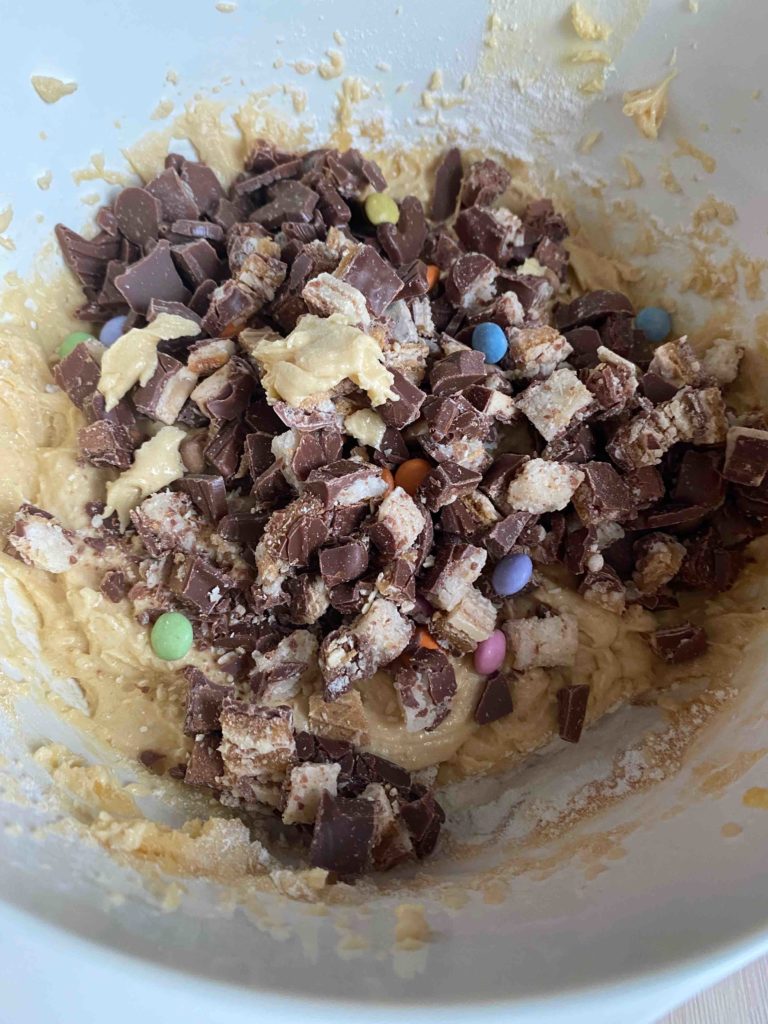
If you don't eat the crispy cookie lollipops straight away, you can store them in a tin can and separate the individual cookie lollipop layers with baking paper.
My kids and I wish you and your kids lots of fun baking and a great party! 😉
Yours, Lia
Have you baked the recipe?
How exciting! We're really happy about that! We are pleased that we were able to delight you with our recipe. Feel free to share your treat with us on Instagram using the hashtag #backenmitminis.
BAKING NEWS – The most delicious thing right in your inbox?
Sign up for our newsletter and be the first to hear about colorful recipe ideas, easy baking hacks and upcoming baking promotions!
