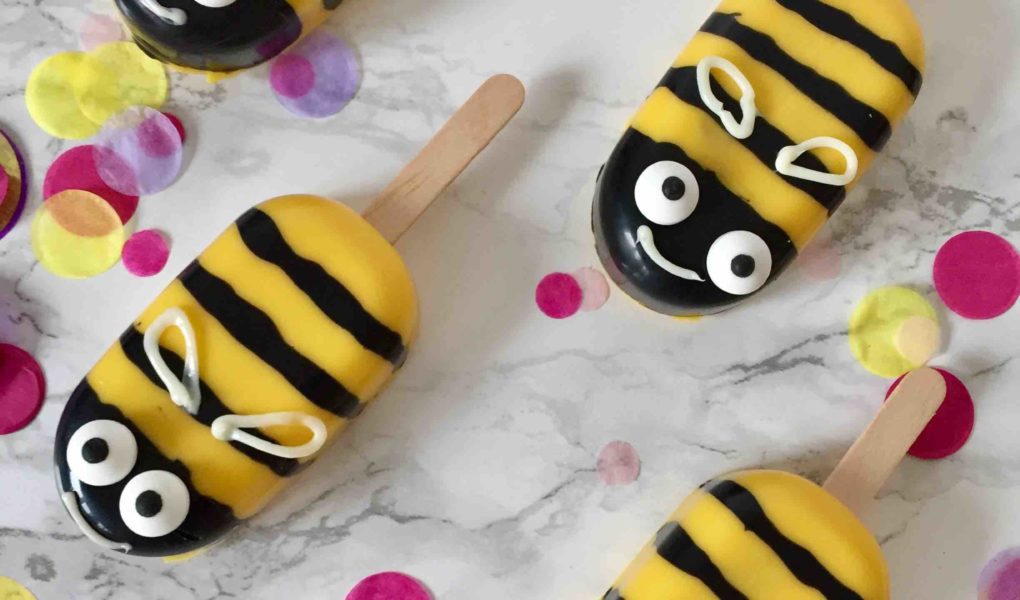
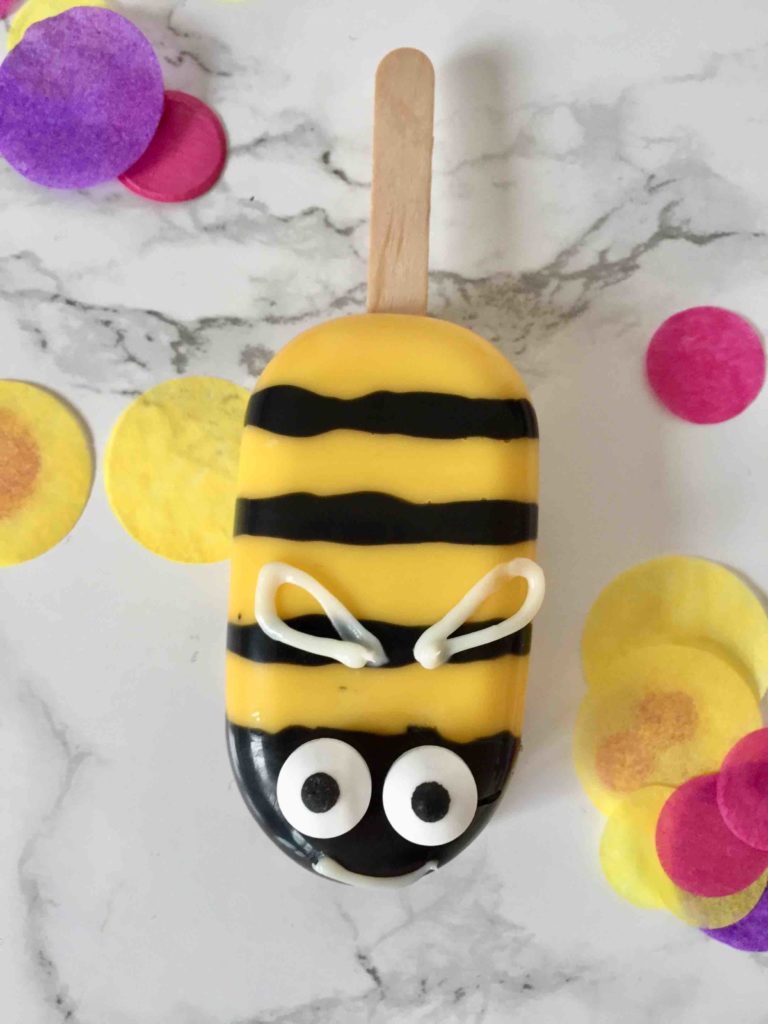
May 20th is World Bee Day! To celebrate this special day for our busy little bees, we’re sharing a quick recipe for adorable bee cakesicles.
My little ones and I are big fans of mini cakes! Whether it’s mini bundt cakes, mini muffins, or cake pops – these small treats are so easy to portion and, above all, wonderfully fun to decorate.
To mark World Bee Day, today we’re decorating little cakesicles as busy bees. And because things sometimes need to go quickly, we’re creating our cakesicles using a store-bought pound cake – a lemon cake (yes, that works just as well!). If you don’t want to use store-bought cake, you’ll find a delicious recipe for a moist lemon cake here..
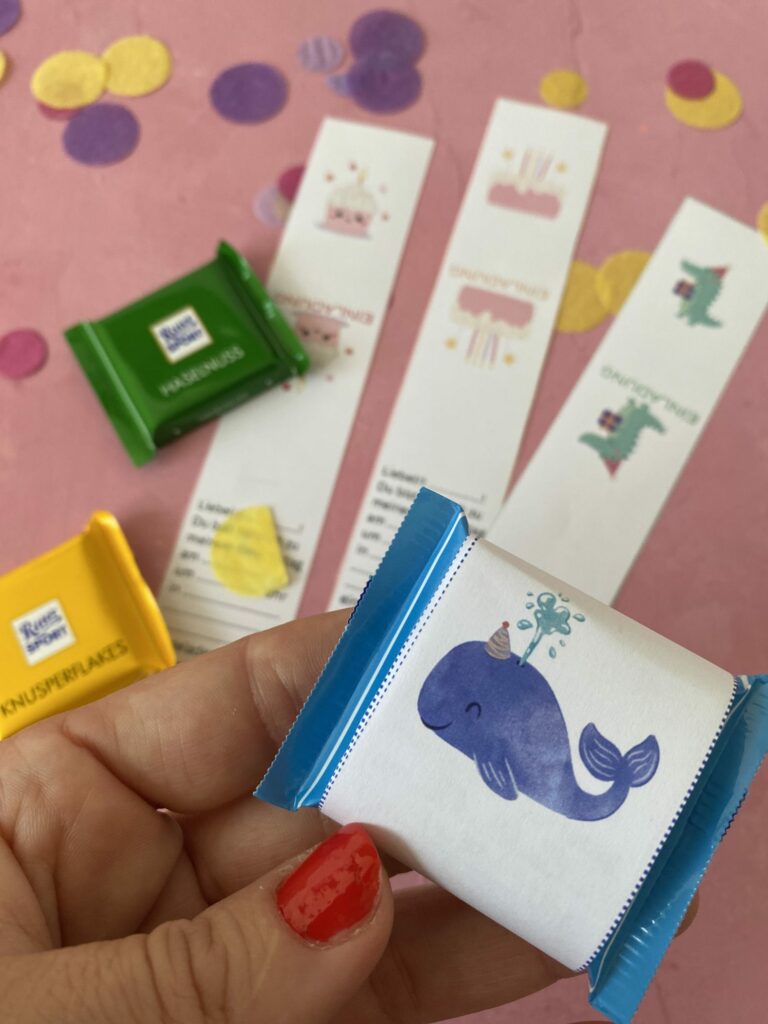
Chocolate children's birthday invitation
With our children's birthday banderoles for Ritter Sport Minis you can create a unique invitation for your child's birthday!
A lovingly designed banderole (if necessary with a preconceived invitation text) for parents with little time!
Bee Cakesicle Recipe
Your little ones can really get creative decorating these tiny bee cakesicles. They can “paint” with melted candy and fill the cakesicle molds after crumbling the cake finely.
Ingredients for 12 Cakesicles
- 350 g store-bought lemon cake (1 small loaf)*
- 250 g yellow candy melts*
- 50 g black candy melts* or dark chocolate
- 24 sugar eyes*
- white sugar writing*
Baking accessories
mixing bowl, silicone cakesicle mold*, 12 cakesicle sticks (small popsicle sticks), teaspoon, saucepan and melting bowl* (or microwave)
Preparation
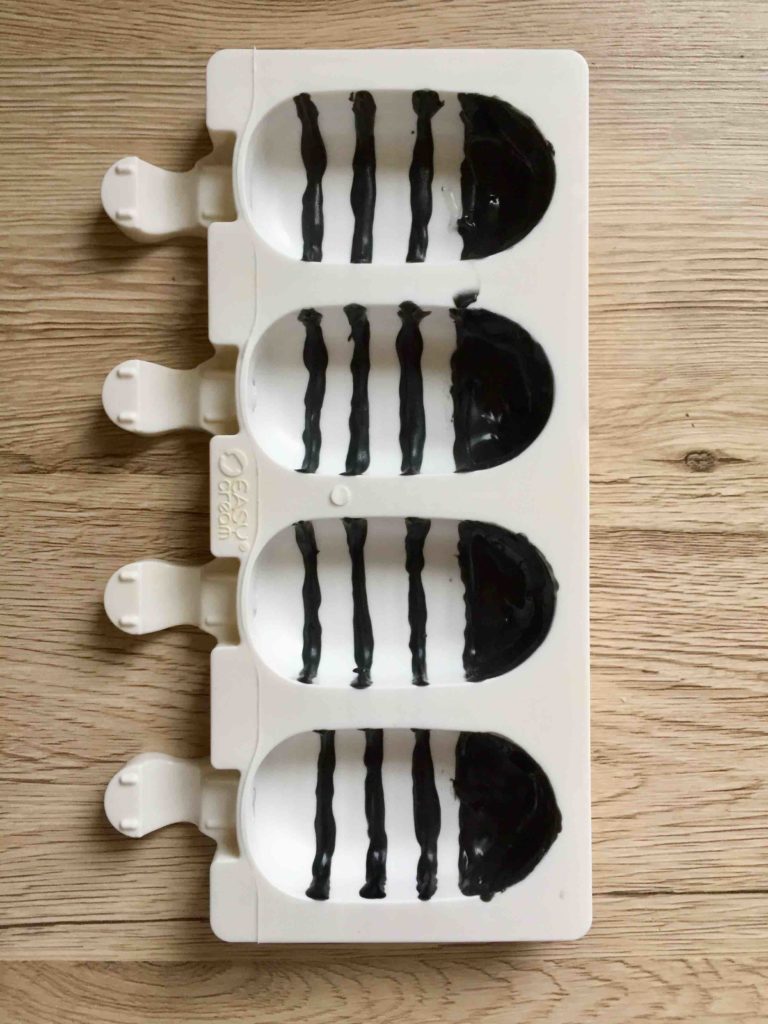
- Melt the black candy melts according to package instructions. Using a teaspoon or fine brush, paint horizontal black stripes in the cakesicle mold to represent the bee’s stripes. Let them dry.
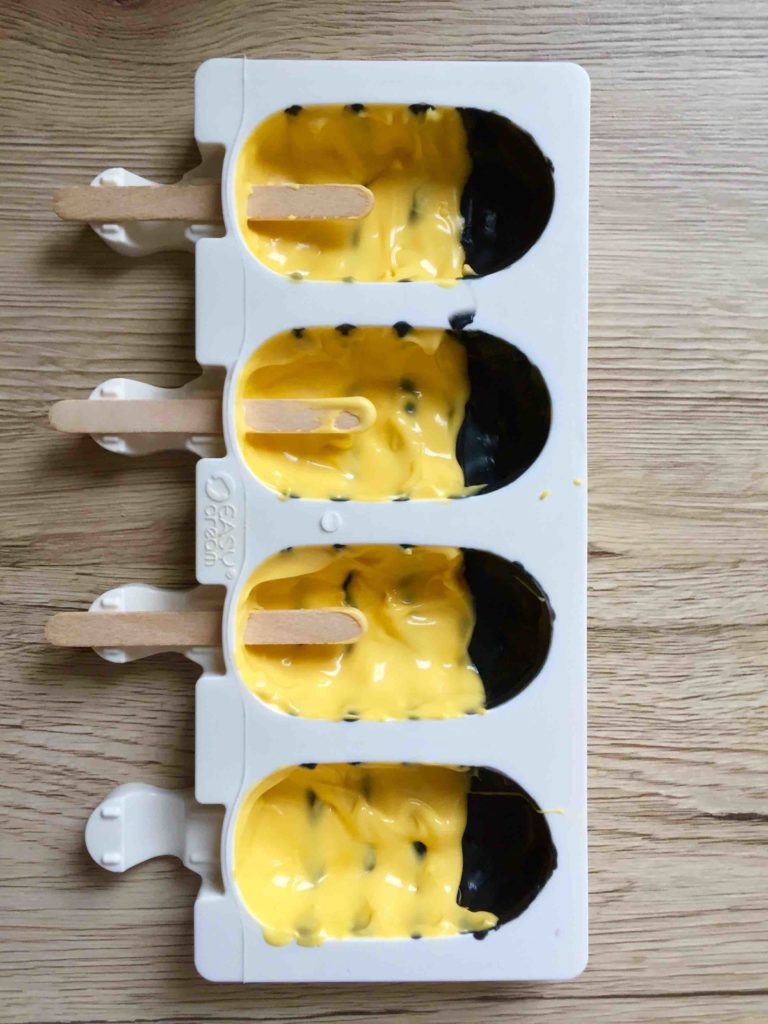
- Melt 200 g of the yellow candy melts as instructed and fill the mold cavities with the yellow coating.
- Before the yellow melts dry, insert the cakesicle sticks into the molds.
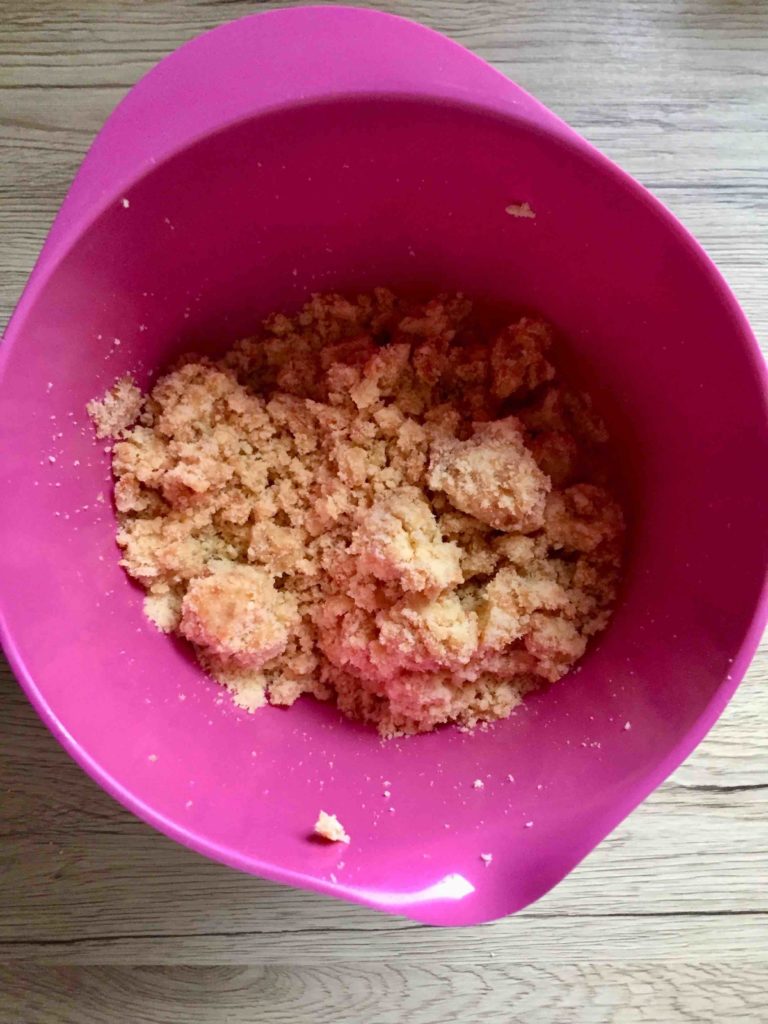
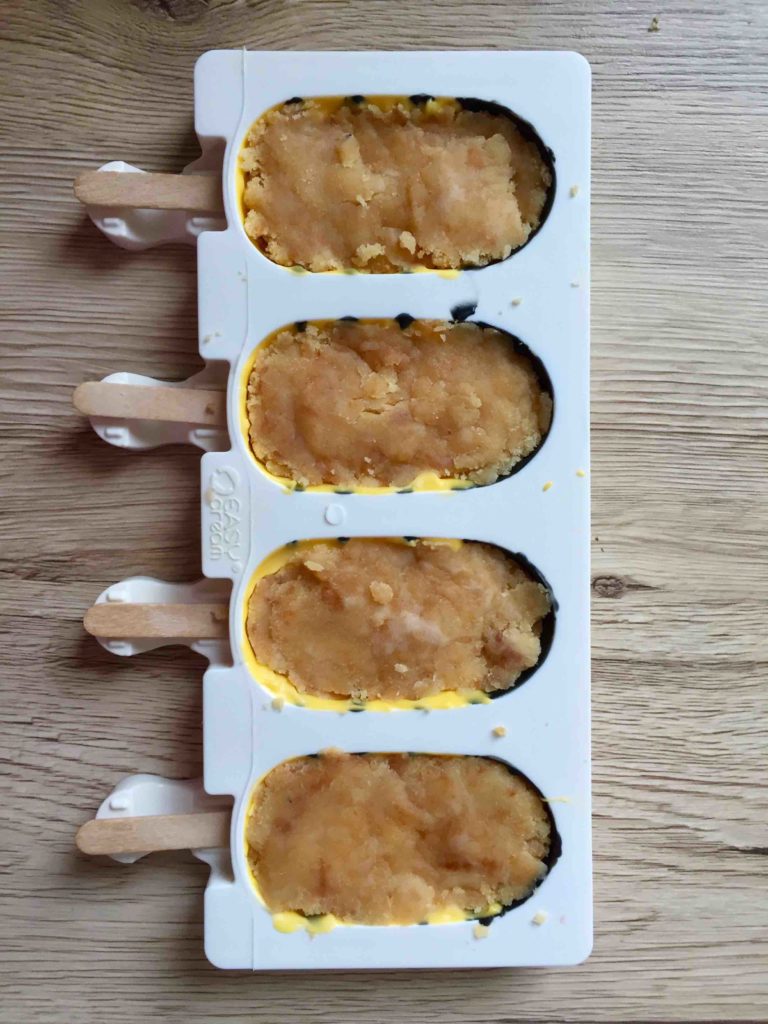
- Crumble the lemon cake into fine crumbs using your hands. (Since this lemon cake is very moist, you don’t need any binding agent like cream cheese or jam. Pro tip: if your crumbs are too dry, add 1–2 tsp of cream cheese to make a cohesive dough.)
- Firmly press the moist cake crumbs into the cakesicle molds.
- Melt the remaining yellow candy melts as instructed and seal the back of the cakesicles with them – this creates the backside.
- Allow the glaze to dry completely (it sets faster in the fridge), then carefully remove the bee cakesicles from the mold.
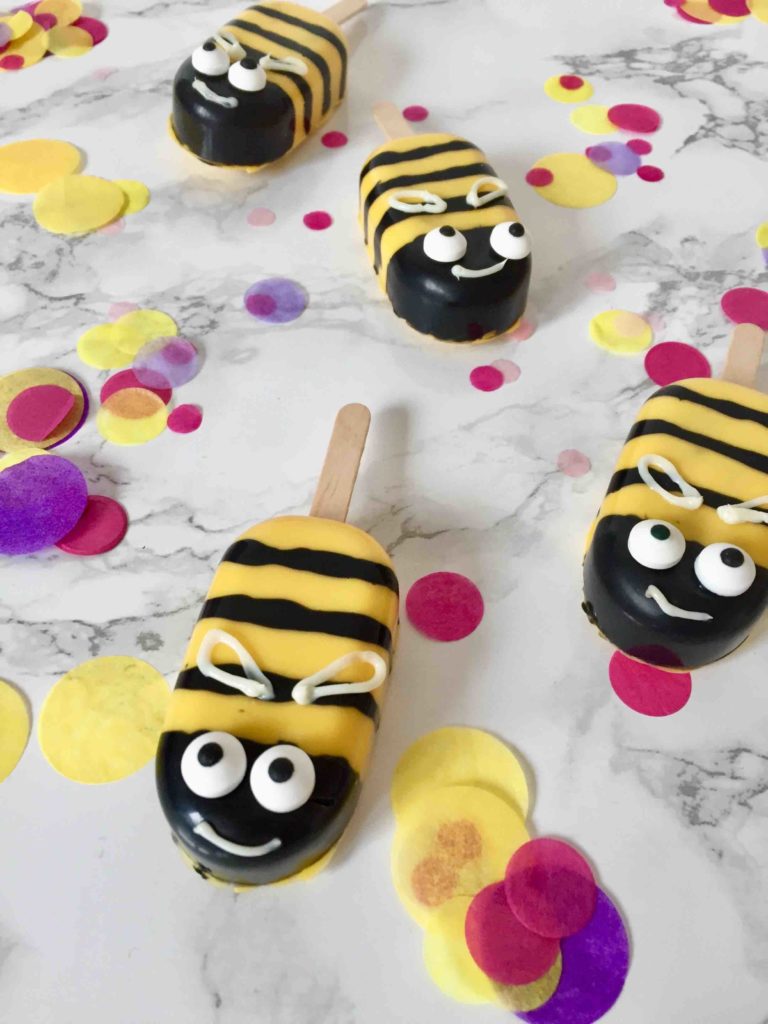
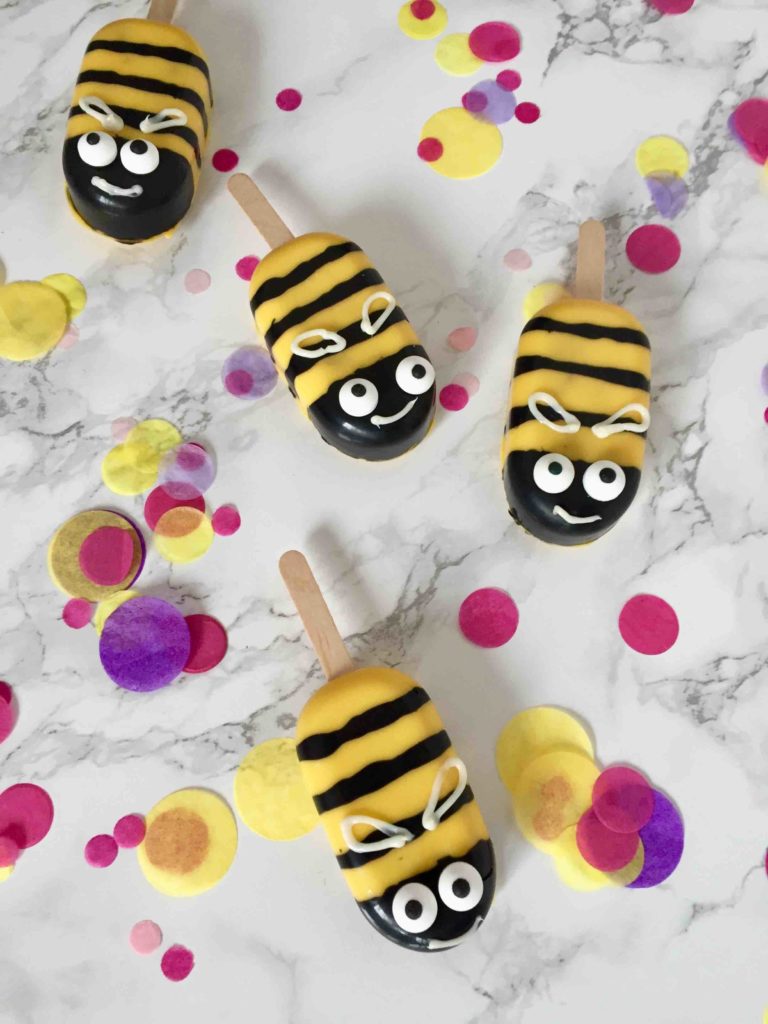
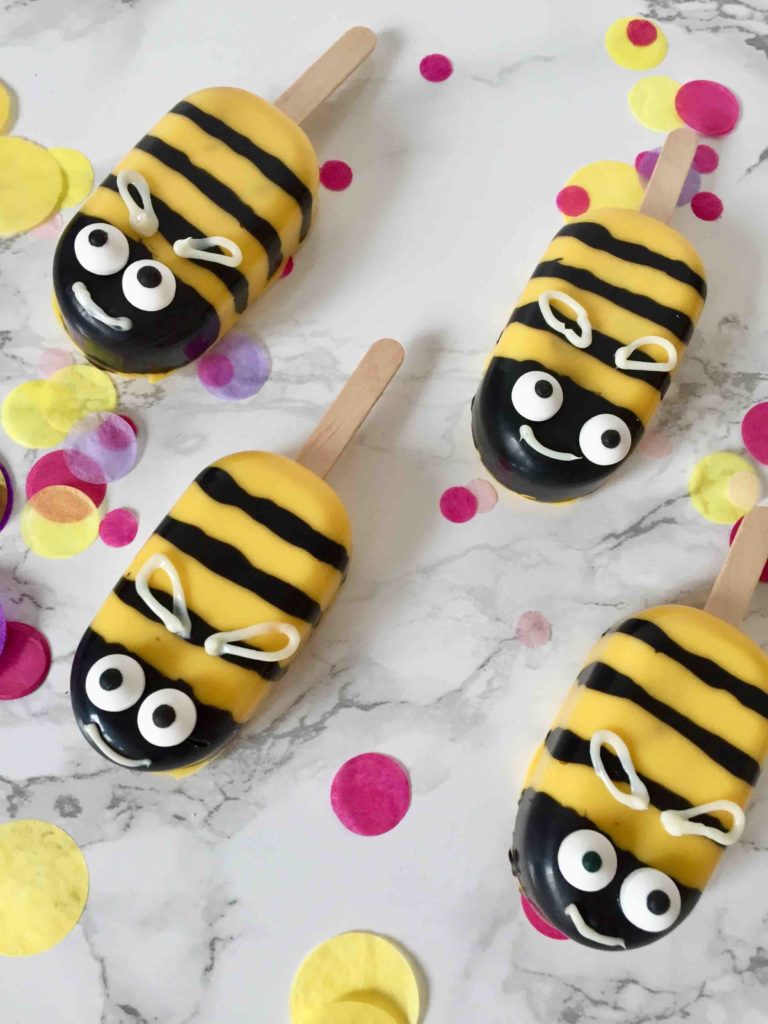
- Use the white icing to draw a mouth and wings onto the bee cakesicles. You can also use the icing or a small bit of leftover melted candy to attach the candy eyes to the bee’s face.
Preparation in pictures


These sweet bee cakesicles are a special highlight on your dessert table – and not just on World Bee Day 😉
My kids and I wish you and your kids lots of fun decorating and snacking!
Yours, Lia
Have you baked the recipe?
How exciting! We're really happy about that! We are pleased that we were able to delight you with our recipe. Feel free to share your treat with us on Instagram using the hashtag #backenmitminis.
BAKING NEWS – The most delicious thing right in your inbox?
Sign up for our newsletter and be the first to hear about colorful recipe ideas, easy baking hacks and upcoming baking promotions!


Hallo! Meine Tochter hat sich die für ihren Geburtstag ausgesucht…
Ich finde keine melts in schwarz… Hab jetzt normale „glasur“ gekauft… Das müsste doch auch gehen oder?
Vielen dank
Lg
Hallo Christine,
oh cool, Geburtstag! 🙂
Du kannst die schwarzen Melts auch durch brauner Kuvertüre oder Zartbitterschokolade ersätzen, die trocknet nur etwas langsamer.
Viele Grüße und einen schönen Geburtstag!
Lia
🙁 mir brechen alle, irgendwas mach ich falsch
Hallo Christine,
aus der Ferne kann dies daran liegen, dass der Teig nicht die richtige Konsistenz hat. Er bricht, wenn er zu trocken ist. Dann bitte Frischkäse bzw. mehr Frischkäse verwenden. Falls das nicht das Problem ist, versuch‘ mal die Cakesicle in der Form für 15 Minuten in den Gefrierer zu stellen, dann solltest du sie besser aus der Form bekommen.
Ich drücke die Daumen!