*This posting contains advertising
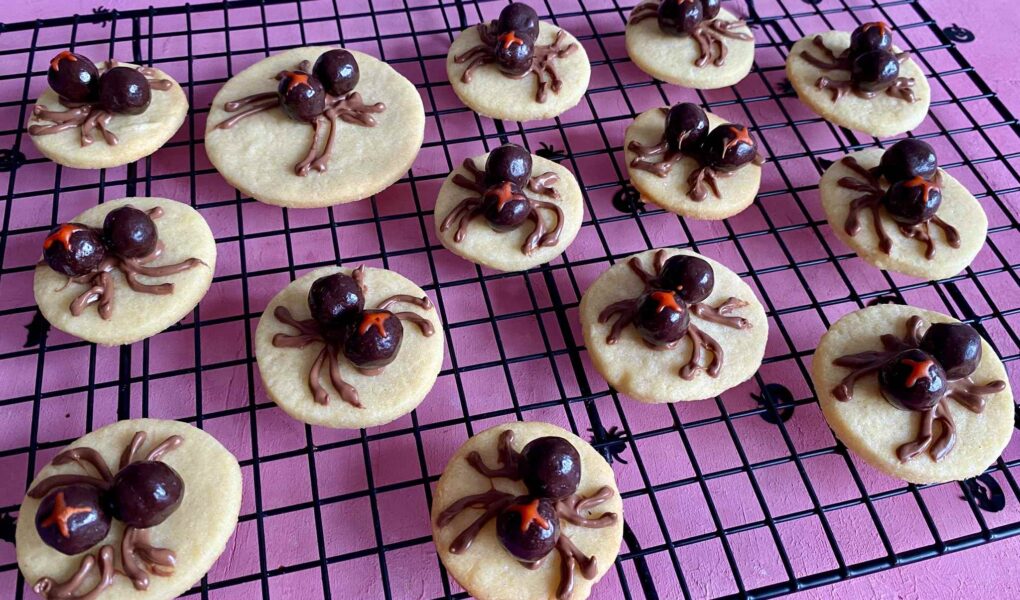
These Halloween spider cookies are a real eye-catcher on any Halloween buffet! Simple, crispy butter cookies, two chocolate balls, chocolate legs and a red icing cross are transformed into spooky spider cookies that are wonderful to bake and decorate with kids. An easy Halloween recipe for little and big fans of spooky treats!
Help, there are spiders crawling all over our cookie plate!
Halloween is getting closer and closer, and my Minis and I are once again busy turning our kitchen into a little Halloween bakery. After already letting some pretty disgusting cockroaches crawl all over our Halloween cookies, things aren't exactly getting any more appetizing this time. Because today, our homemade butter cookies are getting a visit from spooky chocolate spiders! And they really do look terrifying!
The little creepy-crawlies consist of two chocolate balls, eight thin chocolate legs and a bright red icing cross on their backs. The best part? Although our Halloween spider cookies look quite elaborate, they are surprisingly easy to bake. You don't need any special Halloween cookie cutters or complicated decorations.
And of course, the Minis can once again help out!
Why We Love These Halloween Spider Cookies
There are many reasons why our spider cookies are among my favorite Halloween baking ideas. For one thing, they are made from a very simple butter cookie dough that we can also use for other cut-out cookies. And for another, decorating them with kids is incredibly fun.
Two chocolate balls suddenly become a little spider crawling across our cookie on eight chocolate legs. And with the red cross on its back, it looks just a little bit spookier.
I also find it particularly practical that we can bake the butter cookies in advance. That way, on the day of our Halloween party, all we have to do is decorate the little spiders. And from experience, I know that this creates plenty of excitement among my Minis!
Recipe for Easy Halloween Spider Cookies
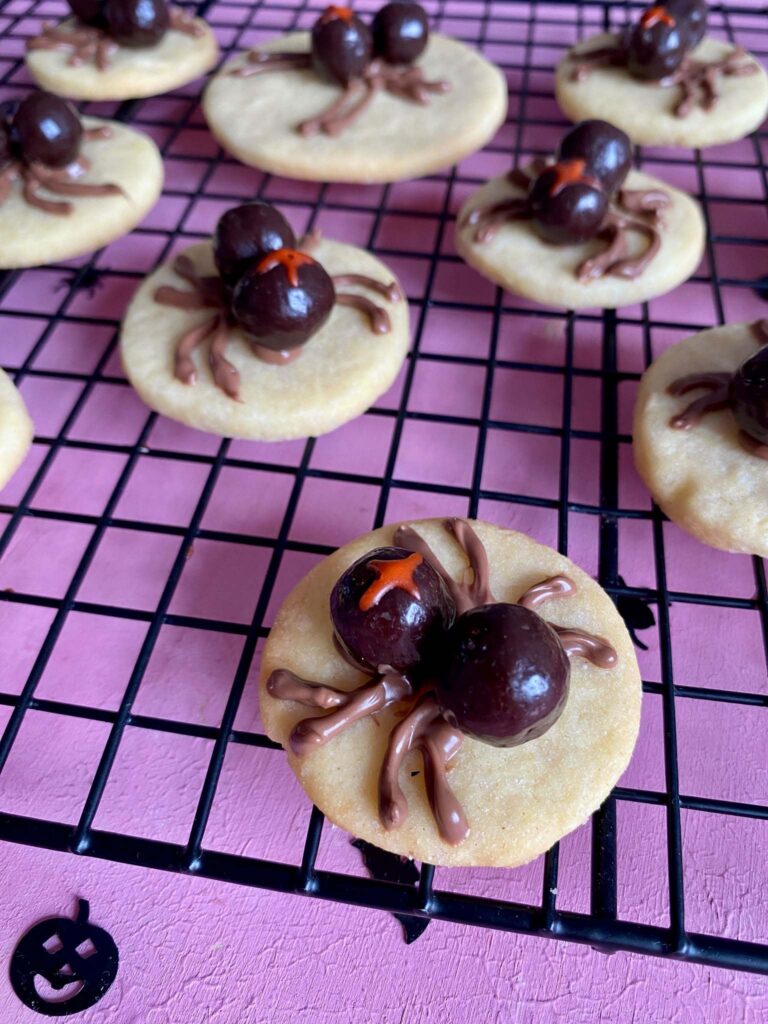
For our spider cookies, we first bake classic round butter cookies. We then decorate them with chocolate balls, melted chocolate and red icing.
Recipe at a Glance
- Makes: approx. 25–30 Halloween spider cookies
- Preparation: approx. 20 minutes
- Chilling time: at least 60 minutes
- Baking time: approx. 10–11 minutes per tray
- Additional time: cooling and decorating
- Difficulty: easy
- Perfect for: Halloween parties, birthday parties in October and baking with kids
Ingredients for Approx. 25–30 Halloween Spider Cookies
For the Butter Cookie Dough
- 250 g all-purpose flour
- 125 g cold butter
- 125 g sugar
- 1 packet of vanilla sugar (15g)
- 1 egg (size M)
For the Spider Decorations
- 50–60 chocolate balls (two per spider)
- approx. 75 g milk or dark chocolate couverture
- approx. 40 g powdered sugar
- a few drops of water or lemon juice
- red food coloring (we use the Goodbake drop system*)

Our Favorite Baking Helpers
Baking with kids can be colorful! My Minis love adding color to their baked creations: colorful cake batter, colored cookies, bright icing.
The more colorful, the better!
With the Goodbake drop system, we mix our favorite colors! Just 1–2 drops create a visible explosion of color!
For colorful baking fun, we recommend the colorful drop system from Goodbake to you and your Minis!
*Affiliate link
Discount code for your purchase at GoodBake: With the discount code “LIA12” you save 12% on your purchase from Goodbake.
(*The links marked with an asterisk (*) are affiliate links. I can recommend suitable products that do not cost you more and I receive a small commission that helps me finance my blog. Thank you!)
Baking accessories
Mixing bowl, kitchen scales, rolling pin, plastic wrap or airtight container, round cookie cutter or glass with a diameter of 6–8 cm, baking tray lined with parchment paper, cooling rack, heatproof bowl or melting bowl for melting the chocolate, small bowl for the icing and two piping bags with fine openings.
Mini-Tip For our spiders, I used two chocolate balls of the same size. But I'm sure using round chocolate balls in two different sizes would look particularly nice, too. A slightly larger ball forms the abdomen and a smaller one the head.
How to Make Our Halloween Spider Cookies
- Weigh all the ingredients and place them in a mixing bowl. Knead the ingredients with your hands until you have a smooth dough.
- Shape the finished dough into a flat disc, wrap it in plastic wrap or place it in an airtight container, and refrigerate it for at least one hour. Why is this important? Chilling allows the butter in the dough to firm up again. This makes the cookie dough easier to roll out later and helps the Halloween spider cookies keep their round shape during baking.
- After the chilling time, take the cookie dough out of the refrigerator and preheat the oven to 180°C / 350°F, conventional heat (top and bottom heat).
- Dust your work surface with a little flour and roll out the cookie dough to a thickness of approximately 5 mm. Now your Minis can use a round cookie cutter or a glass to cut out circles for the Halloween cookies and place them on a baking tray lined with parchment paper.
Mini-Tip If the dough has become very soft while rolling and cutting it out, you can chill the tray with the cut-out cookies again for about 10–15 minutes. This will help prevent the cookies from spreading too much during baking.
- Bake the Halloween cookies in the preheated oven for 10–11 minutes. The edges should turn slightly golden, but the cookies shouldn't become too dark. Don't be surprised if they are still a little soft immediately after baking. That's completely normal for butter cookies!
- Leave the cookies to cool on the baking tray for 2 minutes, then carefully transfer them to a cooling rack and allow them to cool completely.
- While the cookies are cooling, melt the chocolate over a water bath. Make sure no water gets into the chocolate.
- Transfer the melted chocolate to a disposable piping bag with the smallest possible opening.
Mini-Tip If the chocolate is too runny, the fine lines will spread more easily. So let it cool briefly until it is easy to control when piping.
- Use the chocolate to attach two chocolate balls to the center of each cookie to form the spider's body. One ball is the head and the other is the abdomen. Pipe two small dots of chocolate into the center of the cookie and place the chocolate balls close together. Press them down gently so they stick well.
- Using the piping bag, draw eight thin chocolate legs onto the butter cookie. Four legs on the left and four on the right. They look best when they are slightly bent and extend outward from the spider's body. This step is a great little challenge, especially for older Minis. By the way, the legs don't all have to look exactly the same. After all, there are small and large, thick and thin spiders in our Halloween bakery, too. Then let the chocolate set completely.
- Now all that's missing is the spooky detail on our spiders' backs: the red cross! Mix the powdered sugar with just a few drops of lemon juice to make an icing that is as thick as possible. Then color it with red food coloring.
- Fill the red icing into a small piping bag and cut a tiny opening in the tip. Now carefully draw a small red cross onto the abdomen of each chocolate spider. And suddenly our little creepy-crawlies look even more frightening! Let the icing dry completely before serving or packaging the finished spider cookies.
Our spooky Halloween spider cookies are ready! So, who dares to eat the first spider?
5 Tips for Perfect Halloween Spider Cookies
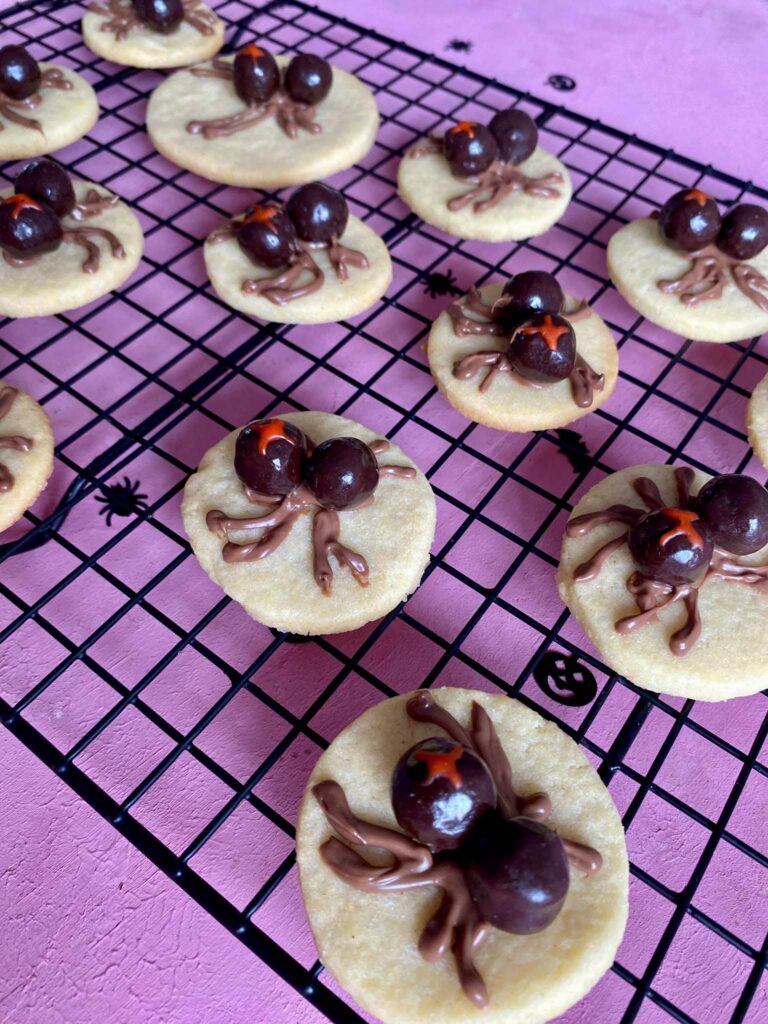
To make sure our little chocolate spiders don't roll off the cookies later and their legs remain clearly visible, I've put together a few practical tips for you.
1. Let the Butter Cookies Cool Completely
If you place the chocolate balls on cookies that are still warm, the chocolate may melt and the decorations may slip. That's why the butter cookies should be completely cool before decorating.
2. Don't Use Chocolate Balls That Are Too Large
Make sure both chocolate balls fit comfortably together on the cookie. After all, we still need enough room to draw eight spider legs around them.
3. Don't Use the Chocolate While It's Too Hot
The melted chocolate should be liquid enough for piping, but no longer very hot. This makes it easier to draw the spider legs neatly.
4. Make the Icing as Thick as Possible
We only need a small amount of icing for the red cross. If it's too runny, it will drip down the round spider body. So make sure you add the liquid to the powdered sugar just a few drops at a time.
5. Allow Enough Time for Drying
Before placing the Halloween spider cookies in a cookie tin, both the chocolate legs and the red icing crosses must have set completely. Otherwise, the beautiful decorations can quickly become smudged.
Baking Halloween Spider Cookies with Kids
I think these spider cookies are a particularly lovely recipe for baking together at Halloween. After all, the Minis can not only help with the dough but also create their own little spiders afterwards.
Younger children can, for example, add ingredients to the bowl, knead the cookie dough, cut out the butter cookies and place the chocolate balls on the cookies.
Older children can also weigh the ingredients, roll out the dough, draw spider legs with the piping bag and pipe the red crosses onto the chocolate balls.
Of course, adults should take care of melting the chocolate and handling the hot oven.
What I particularly love about this recipe is that every spider is allowed to look a little different. And if one spider is missing a leg or a cross ends up a little crooked? Then it's simply a very special Halloween spider!
What Do Kids Learn While Baking and Decorating?
Baking together helps develop many skills along the way.
- Even while weighing the ingredients, the Minis are learning about numbers and quantities.
- Kneading and rolling out the cookie dough helps them develop their hand strength and coordination.
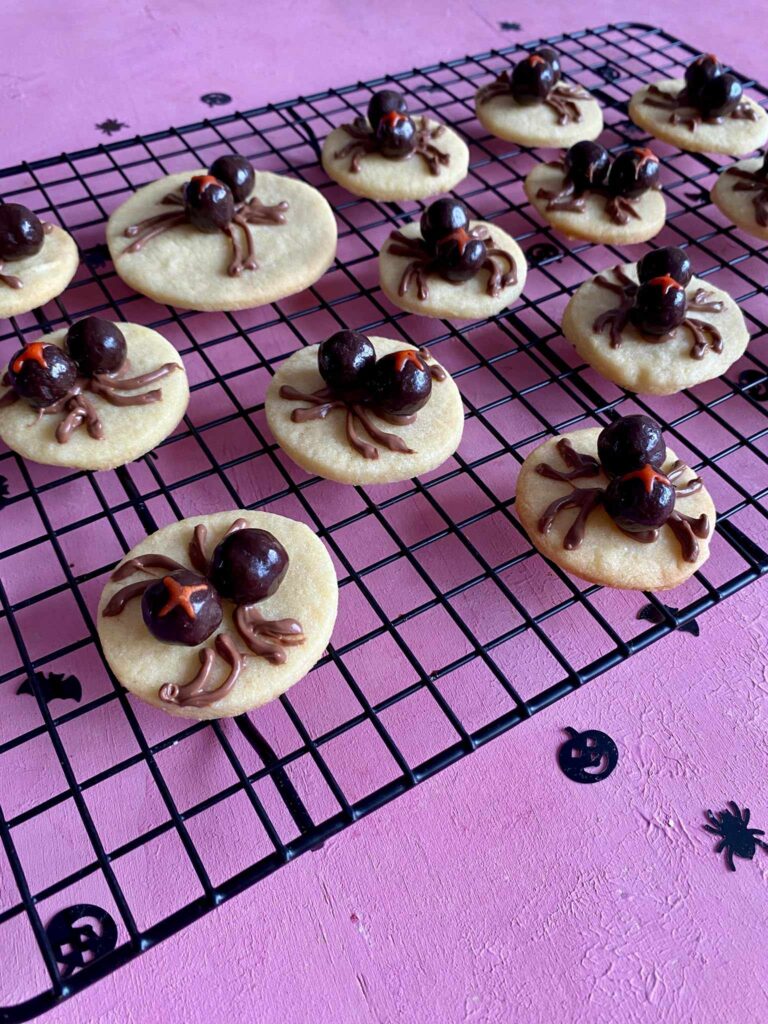
- Decorating our spider cookies in particular requires patience, concentration and fine motor skills. After all, the eight spider legs need to be drawn onto the cookie as accurately as possible. And the red cross on the round chocolate body is another little challenge.
I always love watching how proud my Minis are of the baked treats they've decorated themselves. And isn't that exactly what baking with kids is all about?
Can I Prepare Halloween Spider Cookies in Advance?
Yes! This is particularly practical for a Halloween party.
You can prepare the butter cookie dough the day before and store it well wrapped in the refrigerator. The butter cookies themselves can also easily be baked several days in advance. Once they have cooled completely, store them in a tightly sealed cookie tin.
You can then decorate the chocolate spiders the day before your Halloween party or on the day of the party itself. This spreads the work over several days and means less stress on the day of your Halloween party.
How Should I Store Halloween Spider Cookies?
Store the finished decorated spider cookies in a tightly sealed container in a cool, dry place. If possible, place them next to each other so that the delicate chocolate legs and red icing crosses don't get damaged. If you need several layers, wait until the decorations have completely hardened before carefully placing sheets of parchment paper between them.
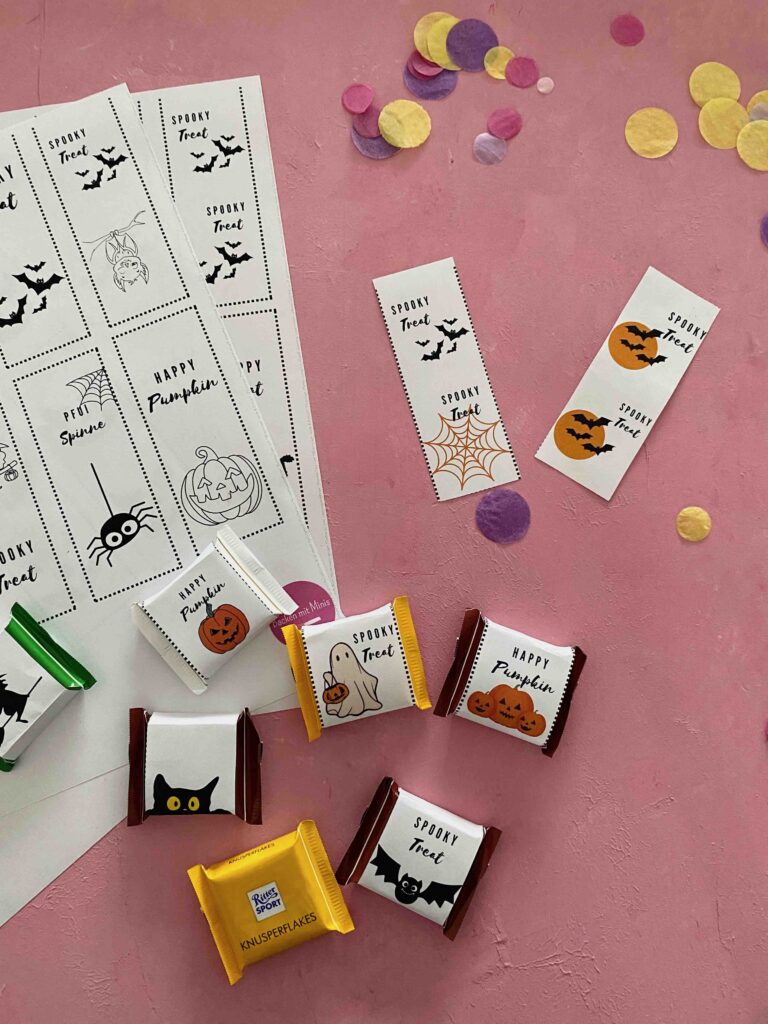
DIY Halloween Treats
Trick or treat? With our DIY print template you can make creative Halloween treats with your kids from Ritter Sport Minis and hand them out on Halloween or bring them to the Halloween party as a small guest gift. Here you can find our DIY print template.
Trick or Treat?
Frequently Asked Questions About Halloween Spider Cookies
How Can You Make Easy Spider Cookies for Halloween?
To make easy Halloween spider cookies, bake round butter cookies and decorate each one with two chocolate balls. Draw eight legs using melted chocolate. A red icing cross on the abdomen gives the spiders their spooky Halloween look.
Which Chocolate Balls Are Best for Halloween Spider Cookies?
Small, round chocolate balls that fit well together on a butter cookie work best. A combination of a smaller ball for the head and a larger one for the abdomen looks particularly nice.
How Many Legs Does a Spider on a Halloween Cookie Need?
A spider has eight legs. That's why we use melted chocolate to draw four legs on each side of our chocolate spider.
How Do You Attach the Chocolate Balls to the Butter Cookies?
The easiest way to attach the chocolate balls is with a small dot of melted couverture chocolate. As soon as the chocolate sets, the balls will stay attached to the cookie.
How Do You Draw the Red Cross on the Chocolate Spider?
Mix powdered sugar with a few drops of water or lemon juice and color the icing red. Then use a piping bag with a very small opening to carefully draw a cross on the spider's abdomen.
Can You Bake Halloween Spider Cookies with Kids?
Yes! Kids especially enjoy cutting out the butter cookies, placing the chocolate balls and decorating. Depending on their age, they can also draw the spider legs and red cross themselves.
Even More Spooky Halloween Baking Ideas for Kids
If your Minis still haven't had enough Halloween baking after making our spider cookies, I have another pretty disgusting idea for you.
Together, the two recipes make a truly creepy Halloween cookie platter.
And if you prefer something a little cuter, you'll find more Halloween inspiration on our blog, such as bat cakesicles, monster cakes or ghost-shaped German black-and-white cookies (Amerikaner).
Our Halloween Spider Cookies – Spooky, Easy and Really Delicious!
I love Halloween recipes that turn just a few ingredients into something really special. And that's exactly the case with our Halloween spider cookies.
Simple butter cookies, two chocolate balls, a little chocolate and red icing become small, spooky spiders that are guaranteed to attract attention on any Halloween buffet.
The best part for me, of course, is baking and decorating together with my Minis. Because even if the spiders don't all look perfect, they still taste wonderful. And let's be honest: a spider with crooked legs is actually even spookier!
My Minis and I wish you and your Minis lots of fun baking together for Halloween!
Yours, Lia!
Have you baked the recipe?
How exciting! We're really happy about that! We are pleased that we were able to delight you with our recipe. Feel free to share your treat with us on Instagram using the hashtag #backenmitminis.
Halloween-Baking with kids – Would you also like to have a spooky Halloween baking event with your kids and friends? I've put together great baking highlights for Halloween for you here! From muffin and baking cups to matching edible decorations, you'll find spooky Halloween cake decorations in this list! Have fun browsing!*
BAKING NEWS – The most delicious thing right in your inbox?
Sign up for our newsletter and be the first to hear about colorful recipe ideas, easy baking hacks and upcoming baking promotions!

How to encourage your children to bake
Baking with children is much more than just a delicious treat that can be enjoyed together!
By baking with your child, you'll teach them many valuable things! Learn more about this in my blog post: How to encourage your children to bake!
To make baking a wonderful, shared experience for you and your little ones, you'll find tips for stress-free baking in the following blog posts:
- My tips for baking with children
- Baking tasks for children aged 2 and over
- Safety when baking with children
- Q & A about baking
Have fun baking! Yours Lia!


 English
 German