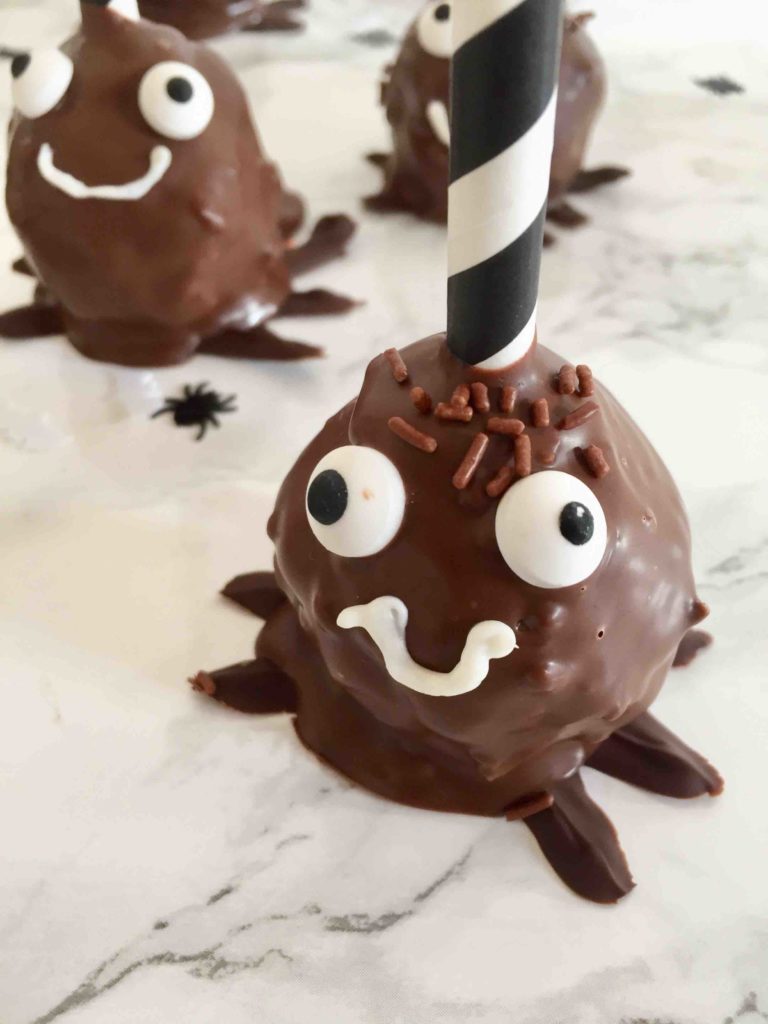
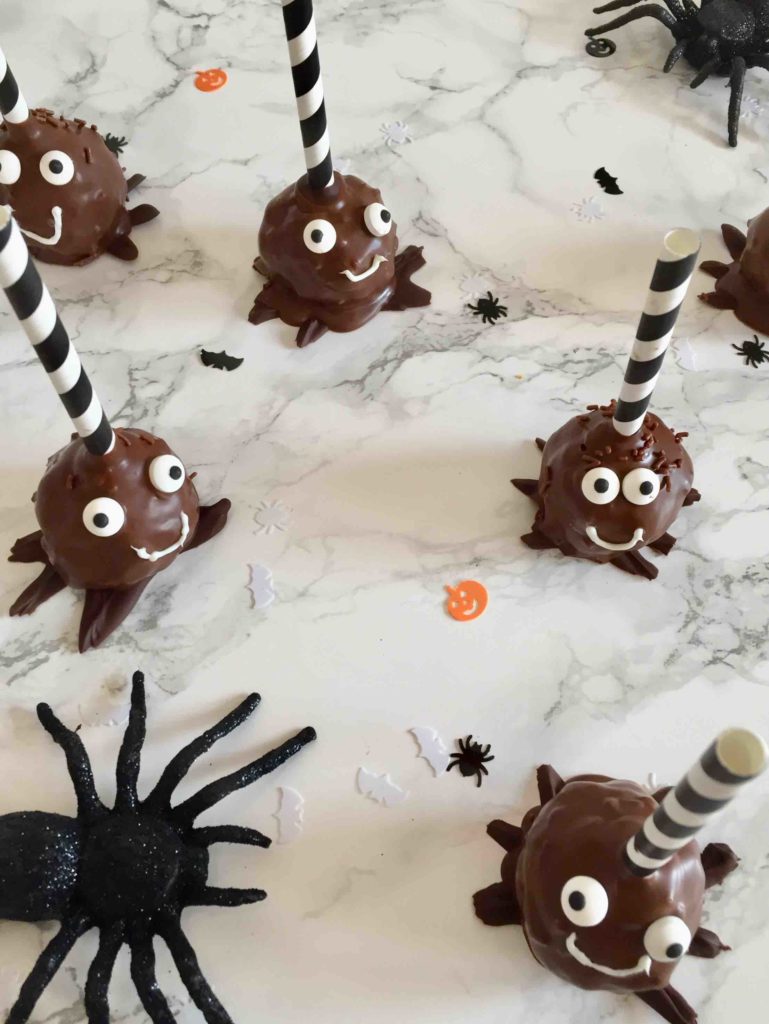
The funny spider cake pops are a spooky-sweet hit at the Halloween party with kids. You can easily bake this Halloween snack together with children.
Spider Cake Pops made from chocolate cake — baking with kids for Halloween It’s that time again for biting vampires, hairy spiders, and cheeky witches: Halloween! One way to bake spooky themed cakes that we won’t miss out on this year either!🙂
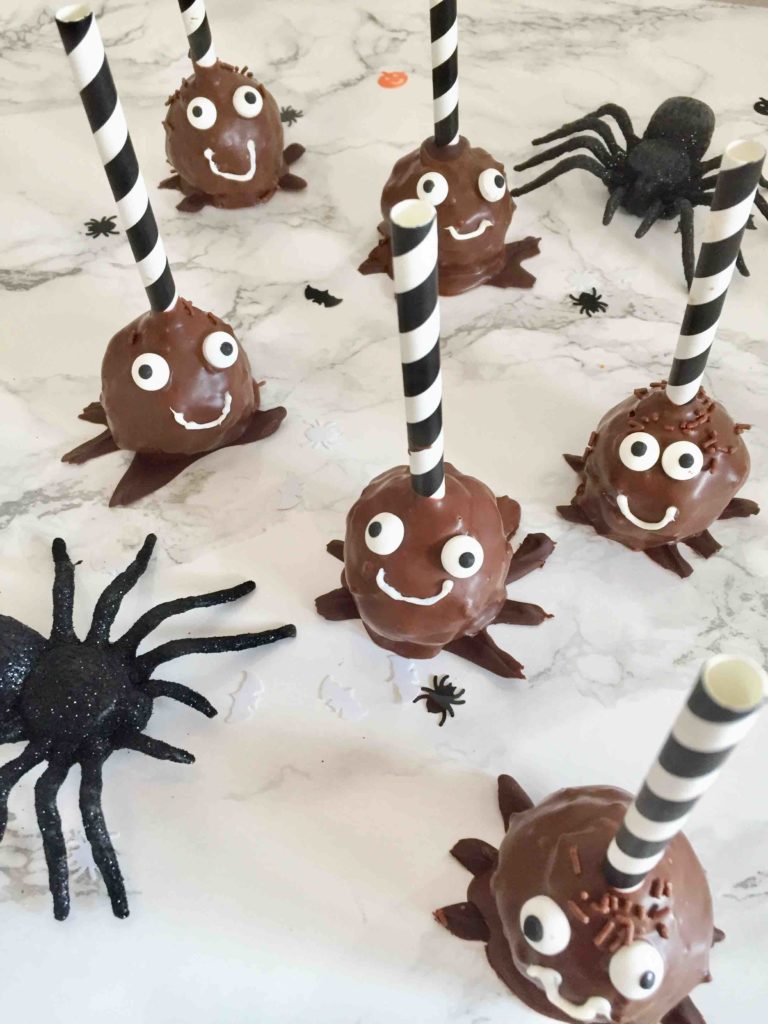
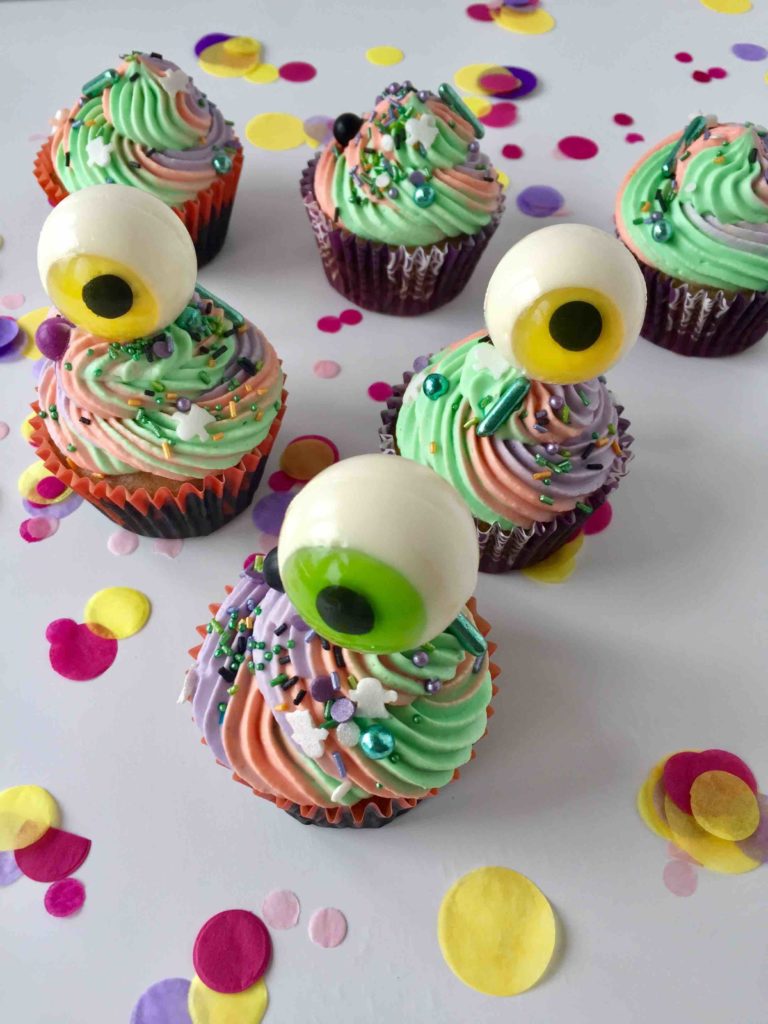
After bats, monsters, and googly-eyed cupcakes last year, we’re starting this Halloween baking season with small, crunchy spider cake pops.
Halloween-Baking with kids – Would you also like to have a spooky Halloween baking event with your kids and friends? I've put together great baking highlights for Halloween for you here! From muffin and baking cups to matching edible decorations, you'll find spooky Halloween cake decorations in this list! Have fun browsing!*
Recipe for our crunchy spider cake pops
You can wonderfully prepare these cute spider cake pops with your kids for the upcoming Halloween party. You save a lot of time making the cake pops if you don’t bake the chocolate cake fresh but use cake leftovers from your freezer or a ready-made cake from the supermarket.
Making these treats is, as often, a combination of nice motor skills exercises and lots of fun! (You can read more here: “Baking with Kids – How to support your children while baking”) Crumbling the chocolate cake trains gross motor skills, and rolling the cake pops trains fine motor skills. And I don’t even have to mention that decorating the little spiders will be THE highlight, right?😉

DIY Halloween Treats
Trick or treat? With our DIY print template you can make creative Halloween treats with your kids from Ritter Sport Minis and hand them out on Halloween or bring them to the Halloween party as a small guest gift. Here you can find our DIY print template.
Trick or Treat?
Ingredients for 8–10 spider cake pops
- 400 g chocolate cake (if you’re in a hurry, you can also use a ready-made chocolate cake* from the supermarket))
- 1 tsp cream cheese
- 50 g dark chocolate
- 150 g chocolate coating (I used this crunchy coating with wafer pieces*, which looks even better!))
- 16–20 sugar eyes*
- white sugar writing*
- chocolate sprinkles*
- cake pop sticks* (I used black-and-white paper straws* )
Mini tip: Paper straws are a great alternative to cake pop sticks. They come in the coolest colors and can really enhance your cake pops! But keep in mind that depending on the paper quality and the moisture of the cake, paper straws can become unstable and might bend after 4–8 hours. Therefore, I’d only use paper straws if the cake pops will be eaten shortly after preparation. For safety, classic cake pop sticks are best, and these days they come in many colors beyond plain white.
Baking accessories
Kitchen scale, mixing bowl, teaspoon, saucepan & melting pot for the water bath to melt chocolate, a tall container (narrow measuring cup, cup, etc.), baking paper.

Preparation
- First, crumble the chocolate cake together with your little one in a mixing bowl.
- Add one teaspoon of cream cheese and knead the cake-cream cheese mixture into a cohesive mass. (The dough must not fall apart.)
- Now roll 8–10 round balls with your hands.
- Next, melt the chocolate in a water bath.
- To attach the cake pop sticks (or paper straws) in the cake pop, dip the tip of the stick about 1–1.5 cm into the melted chocolate and then carefully press it into the center of the cake pop ball. Repeat this with all sticks for all cake pop balls.
- Now take a sheet of baking paper and use a spoon to place a blob of melted chocolate on it, then drag the spoon from the center of the blob about 2 cm beyond its edge to create a spider leg. Repeat 5 more times around the blob. This creates the spider legs for the cake pops. For each cake pop, “paint” the legs on the baking paper (feel free to watch the video tutorial).
- Next, melt the crunchy coating according to the package instructions and dip the cake pops into the coating (the chocolate on the stick must be dry so the cake ball doesn’t slip off the stick), let the excess coating drip off, and place the cake pops centered on a “spider leg blob.”
- Before the coating dries, decorate the cake pops with chocolate sprinkles as “hair” and sugar eyes as the spider’s “eyes.” Repeat this step for all cake pops.
- Once the coating has dried, you can draw a mouth on the cake pop with the sugar writing pen.
And voilà — your spooky-sweet spider cake pops for the Halloween party are ready!
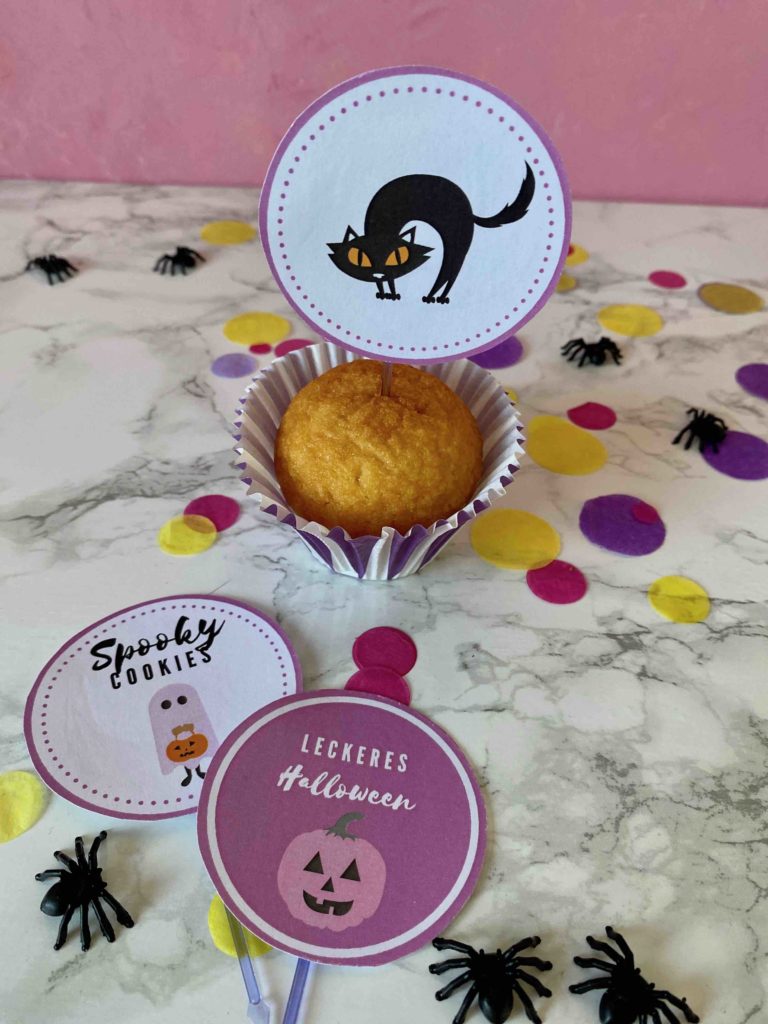
DIY muffin topper set
Do you already know our DIY gift tag set? With the cute gift tags for your DIY gifts from the kitchen, you can beautifully decorate your muffins. The muffin toppers are available as a colored print or for you to color in yourself!
Der Halloween-Kracher!
Videoanleitung für die knusprigen Spinnen-Cakepops
Ich habe mir dieses Mal etwas besonderes ausgedacht: ich habe für dich und deine Minis gefilmt, wie ihr die Spinnen-Cakepops selber zubereiten könnt! Was eine Herausforderung! 🙂
It’s my first video that I filmed and edited especially for you, so please don’t expect perfection — just fun and a simple step-by-step guide! I hope you enjoy the video tutorial that reveals baking tips so you can quickly make these delicious spider cake pops.
Here you’ll find the link to the video tutorial for our spooky-sweet spider cake pops.
Spooky ideas for the Halloween party with little ones
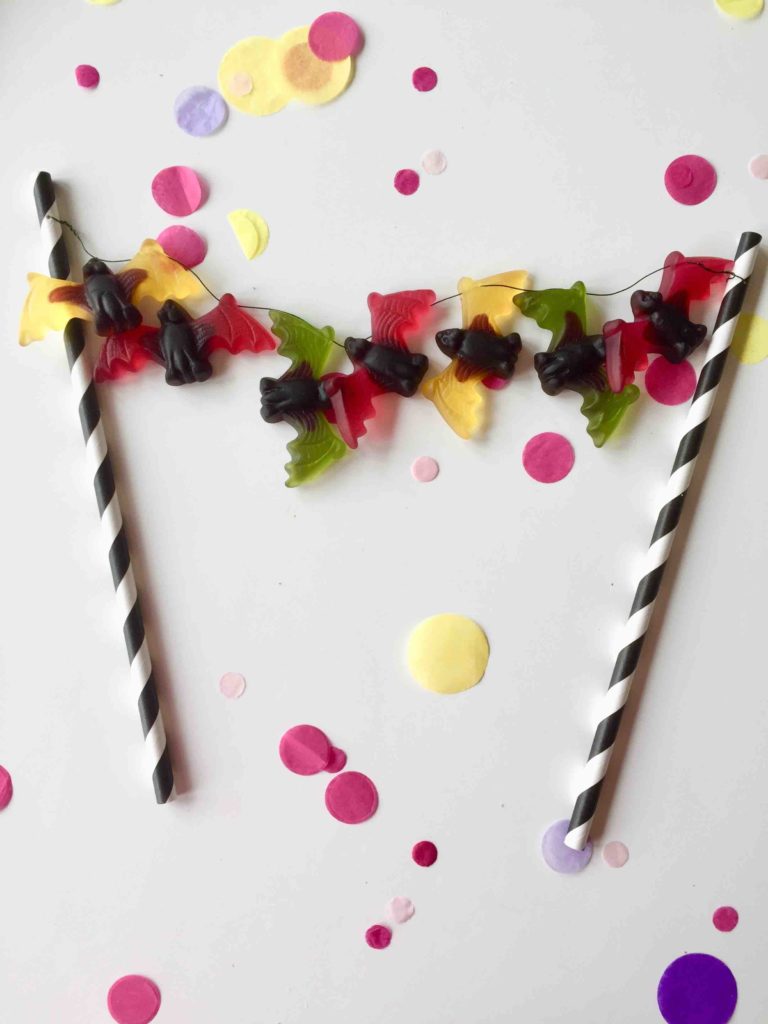
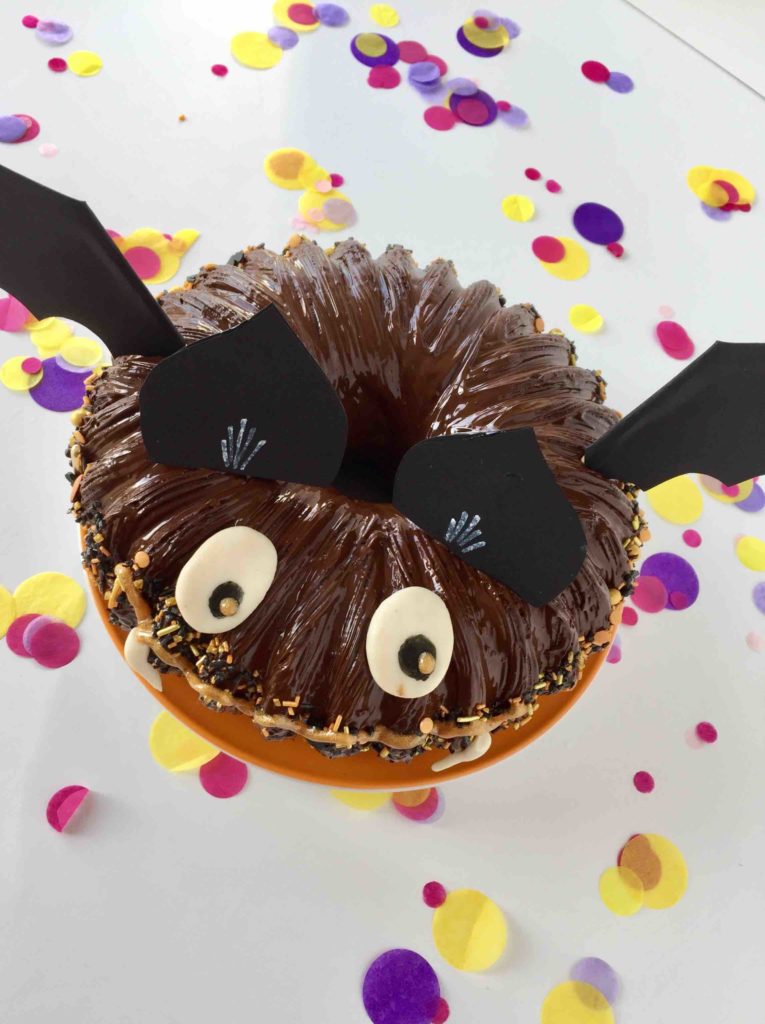
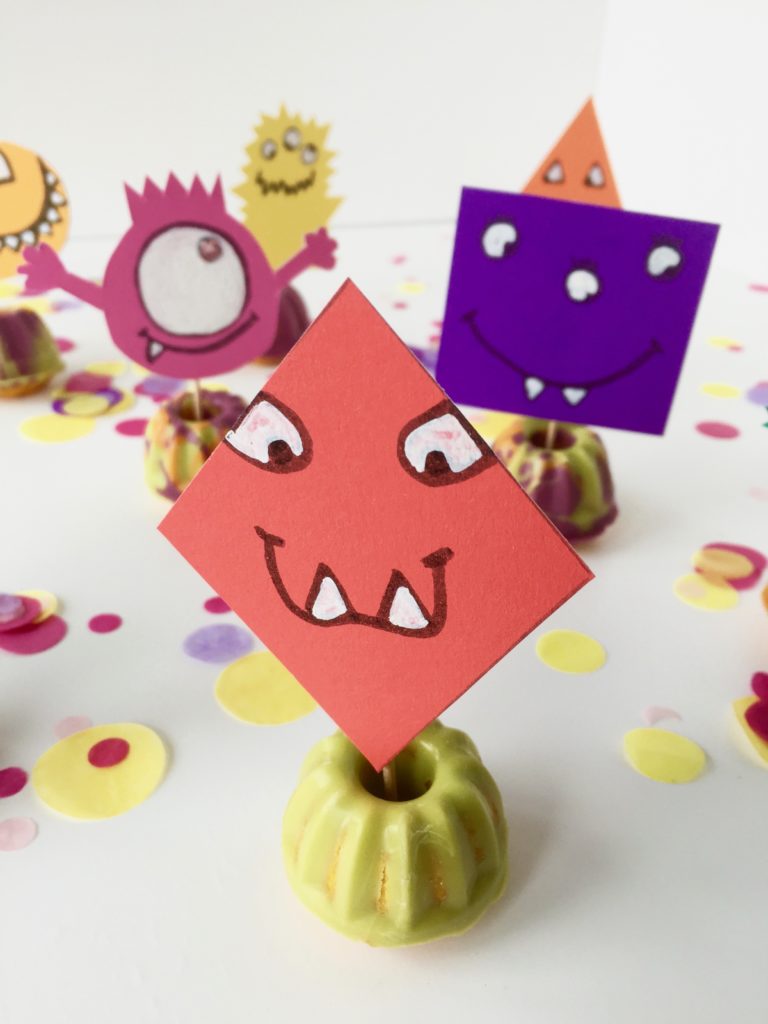
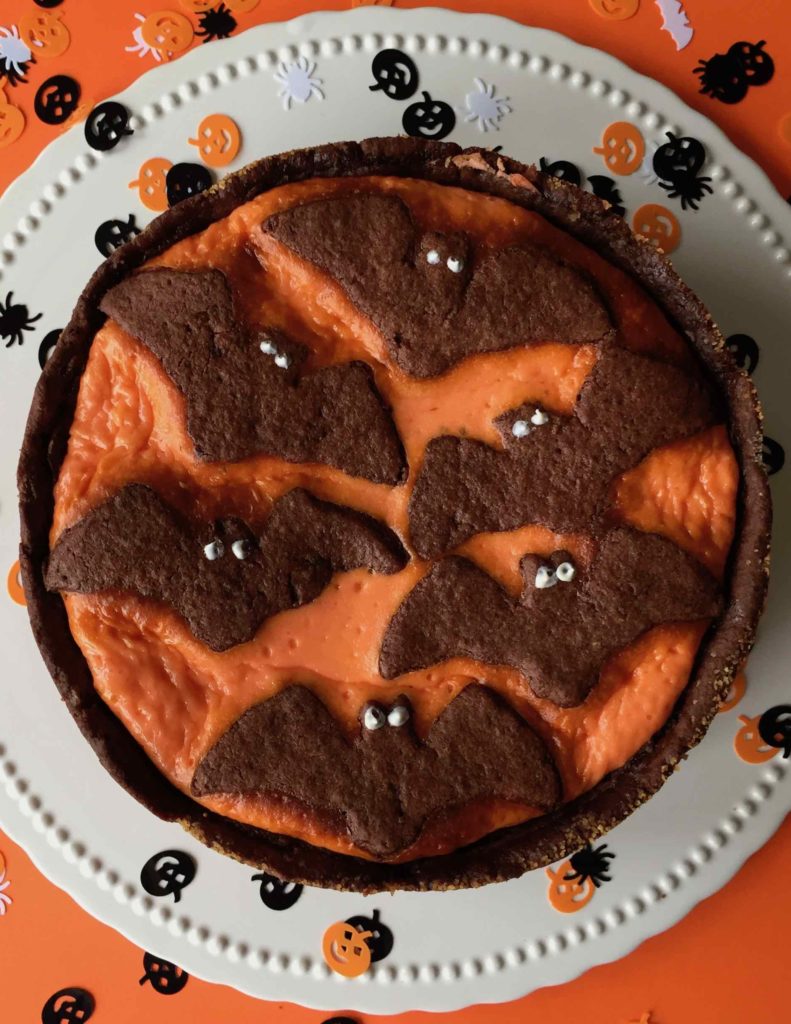
If you’re planning a spooky Halloween party for your little ones or a matching kids’ birthday in October, I recommend these 10 easy and delicious decoration and snack ideas for your last-minute Halloween party.. Our bat — a chocolate pumpkin cake — and the colorful Halloween snacks with cute monster muffin toppers also create a Halloweenastic atmosphere at the cake buffet.


My little ones and I wish you and your kids a spooky and fun Halloween baking session! Have a lot of fun baking and snacking!
Yours, Lia
Have you baked the recipe?
How exciting! We're really happy about that! We are pleased that we were able to delight you with our recipe. Feel free to share your treat with us on Instagram using the hashtag #backenmitminis.
BAKING NEWS – The most delicious thing right in your inbox?
Sign up for our newsletter and be the first to hear about colorful recipe ideas, easy baking hacks and upcoming baking promotions!