*This posting contains advertising.
The time has finally come... The first signs of spring in the form of warmer rays of sunshine and purple crocuses have also reached us here in the north! It won't be long before it's Easter. It's high time for us to welcome spring here on our family baking blog!
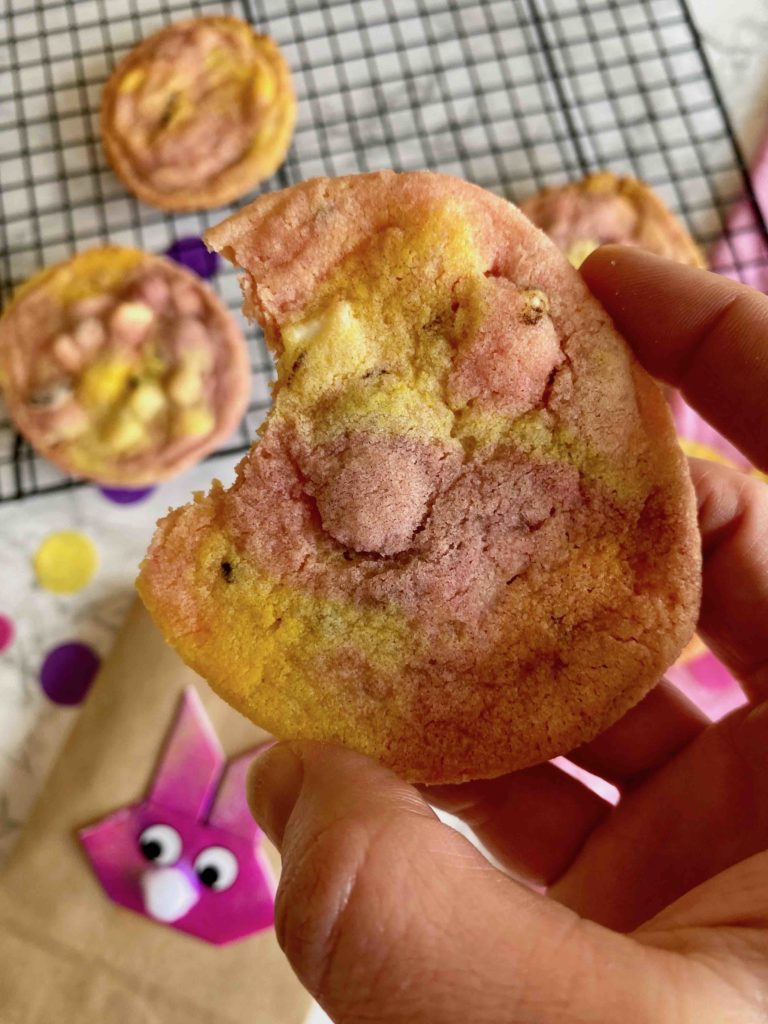
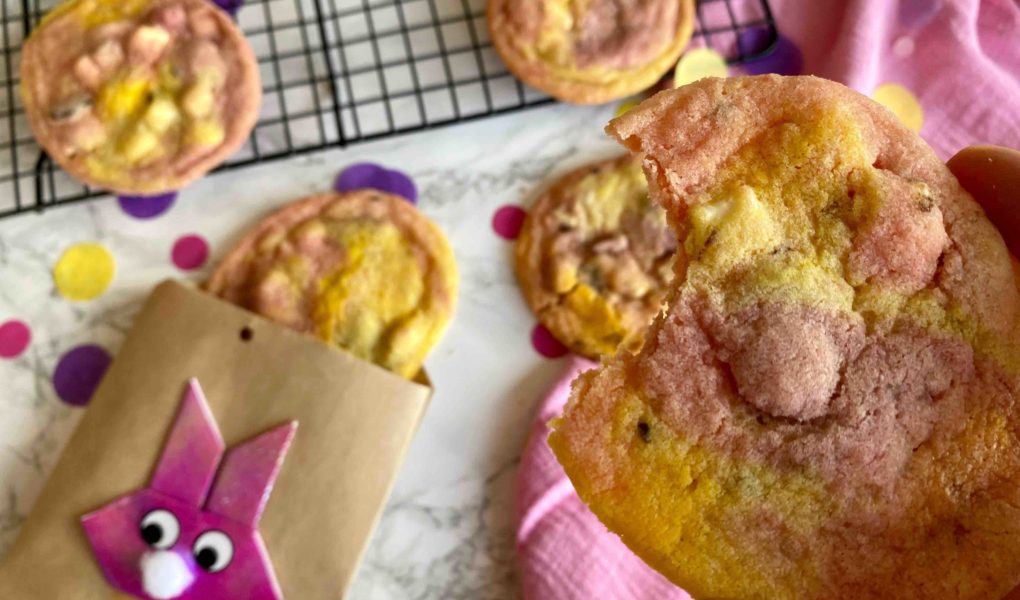
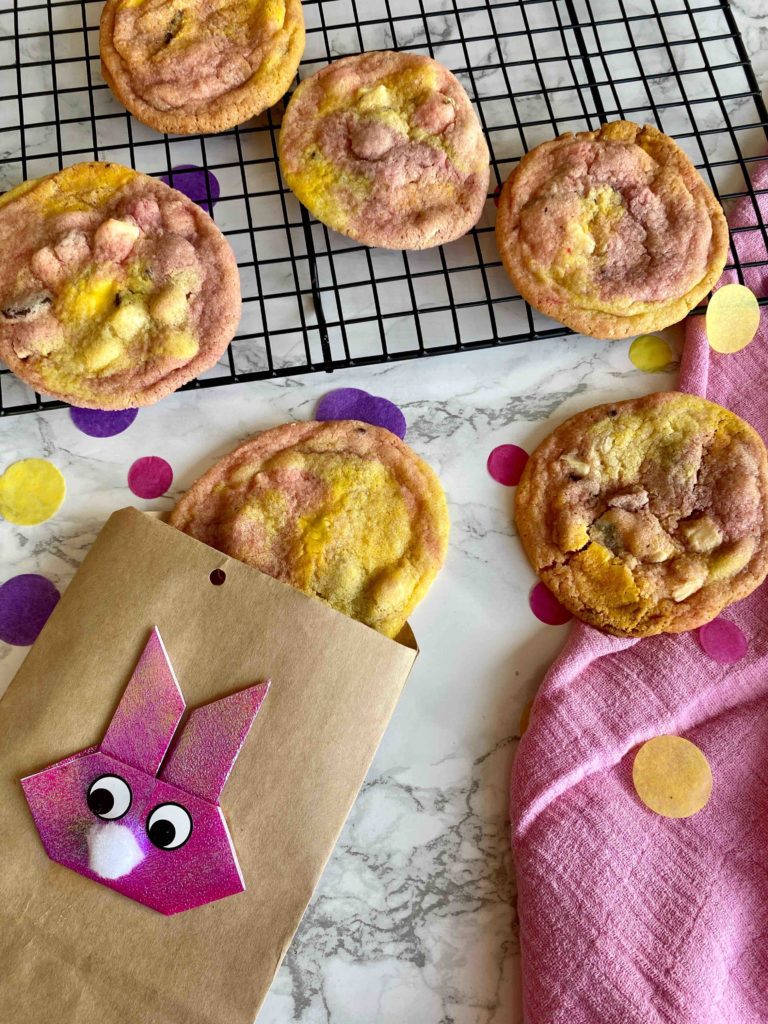
In keeping with Easter, my kids & I are baking spring-like Easter cookies that couldn't be more spring-like with a color mix of pink, purple and yellow! Absolutely ideal – in my opinion – as a little Easter gift from the kitchen! A true spring joy! 😉 Do you already know our “salty-sweet Easter snouts”? They are also very well received as an Easter gift from the kitchen!
My kids & I also made cute Easter packaging for our Easter cookies. In the spirit of sustainability, we have upcycled the Advent calendar bags from December with cute origami bunnies ! And yes… the Easter cookie packaging is ready!
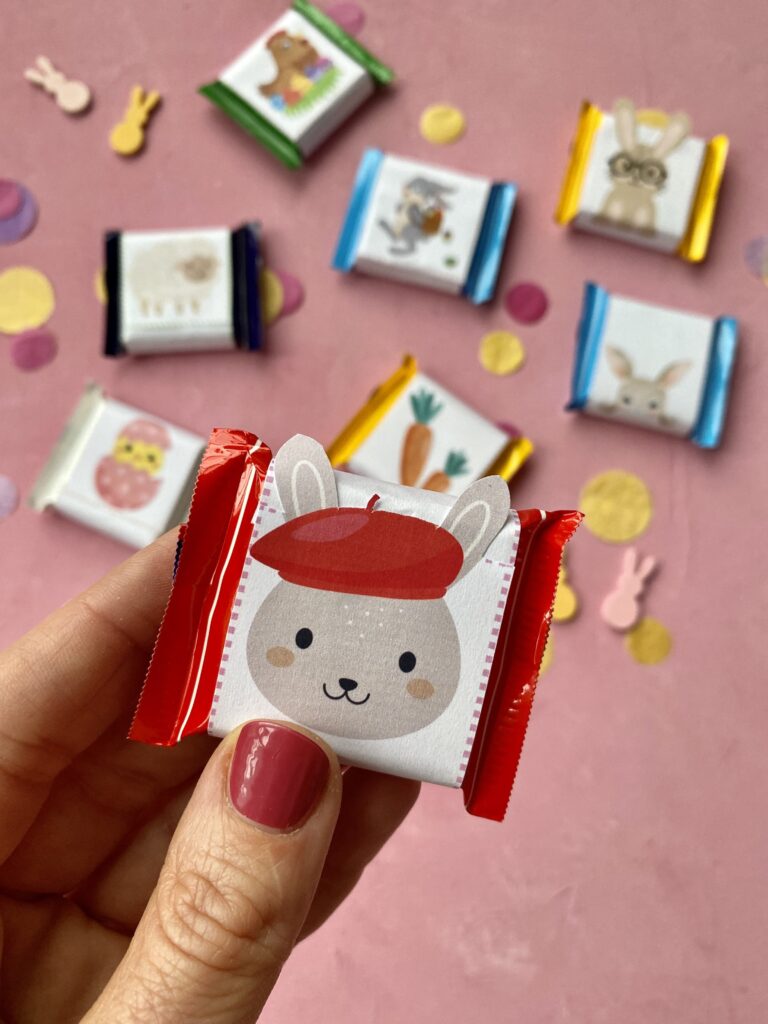
“Hoppy Easter greetings” – Chocolate Easter chocolates
Do you need a cute little something for your Easter mail? Or would you like to decorate your Easter table with chocolate treats this year?
Then these cute wrappers for your little Easter chocolates are just the thing! These creatively designed Easter chocolates fit perfectly in the mail and add that special something to any Easter nest!
Our recipe for pastel Easter cookies
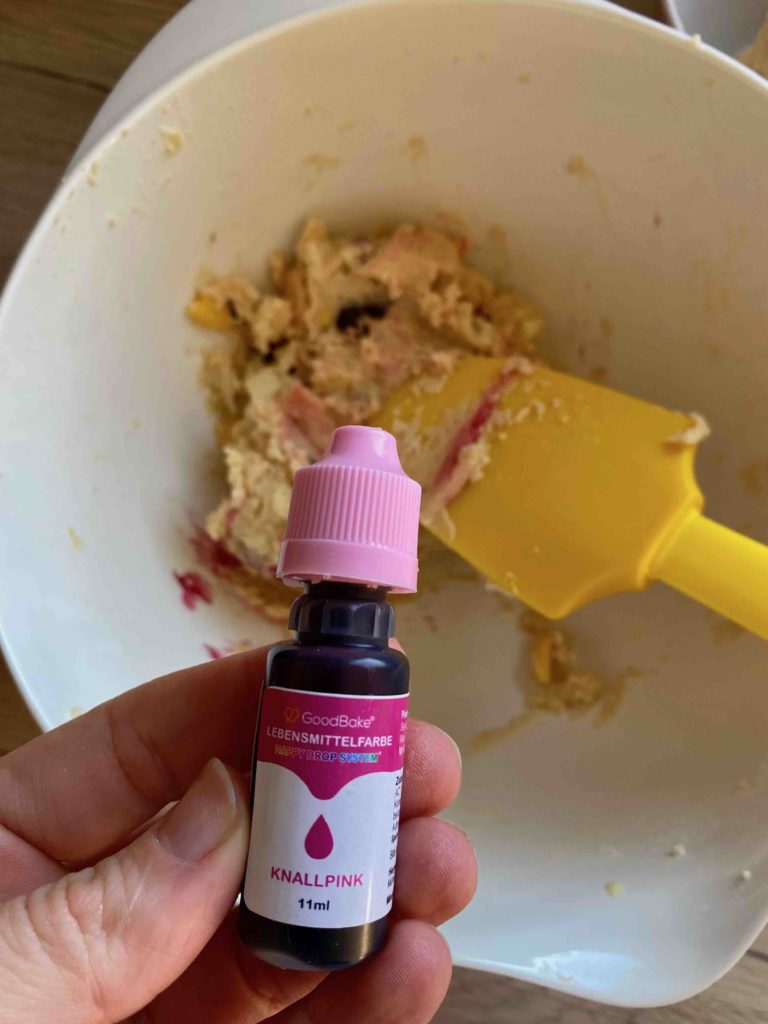
Of course, cookies generally impress with their consistency – they have to be chewy ! Our Easter cookies enchant with their pretty color gradient. We worked with GoodBake's drop system: My kids and I used just 6 drops to color the entire dough in pastel colors. The drop system allows you to vary the colors from pastel to very bright! Your minis can learn the interaction of colors in a playful way or experiment with them! Very exciting!

Ingredients for approx. 20 pastel Easter cookies
Cookie dough
- 280 g spelled flour
- 1 teaspoon baking powder
- 1 pinch of salt
- 180 g soft butter
- 100 g brown sugar
- 160 g granulated sugar
- 1 egg
- 100 g white chocolate chunks*
- 75 g yellow cake melts*
- 75 g ruby chocolate* (we used the Happy Melts from Goodbake)
- yellow, pink & purple food colors* (we used the Happy Drop System from Goodbake)
Discount code for your purchase at GoodBake: With the discount code “LIA12” you save 12% on your purchase from Goodbake.
Baking accessories
Kitchen scales, fine kitchen sieve, bowl, mixing bowl, hand mixer, dough scraper, kitchen knife, baking tray, baking paper, cooling rack
Preparation
- Sift spelled flour, baking powder and salt into a bowl
- Melt butter in the microwave or in a water bath
- Preheat oven to 170°C top/bottom heat
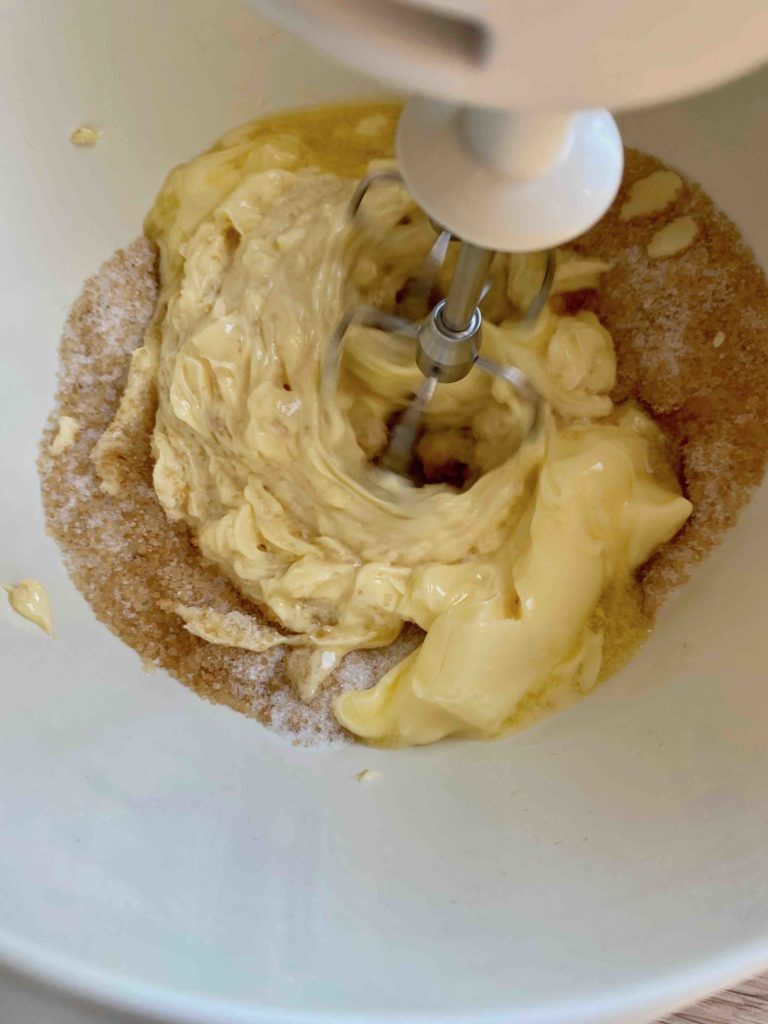
- Mix soft butter and sugar with a hand mixer until the sugar has dissolved and the dough becomes a little “thicker” (stir for approx. 2-3 minutes).
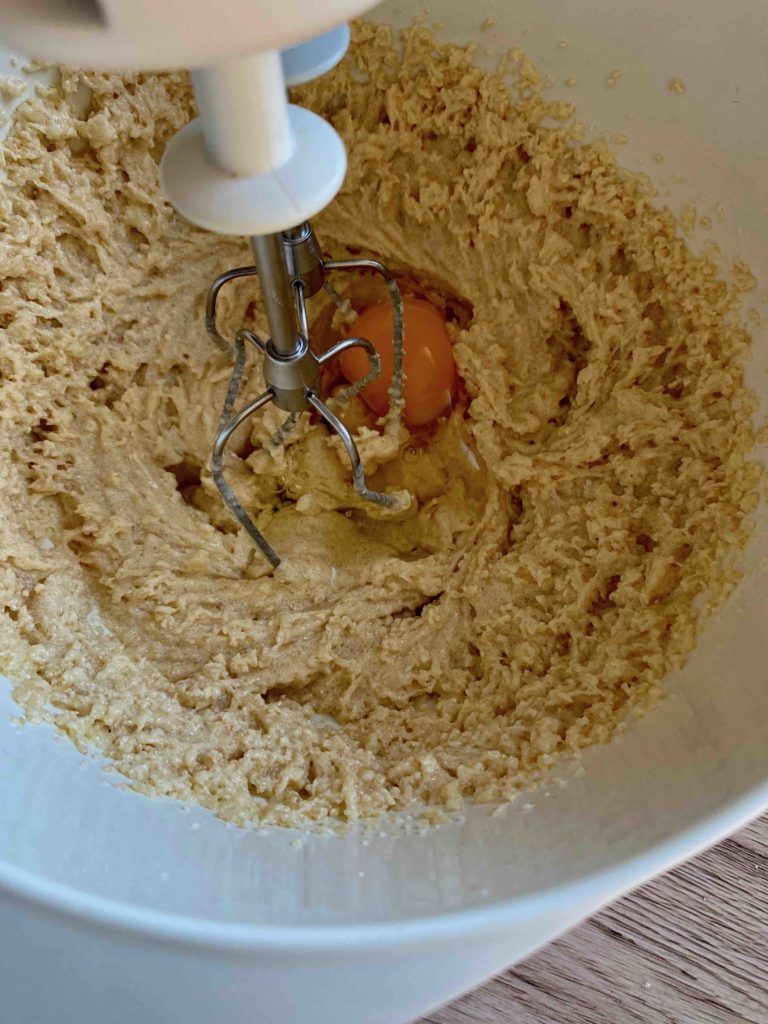
- Add the egg and beat until the dough becomes a little lighter
- Briefly stir the flour, baking powder and salt mixture into the dough.
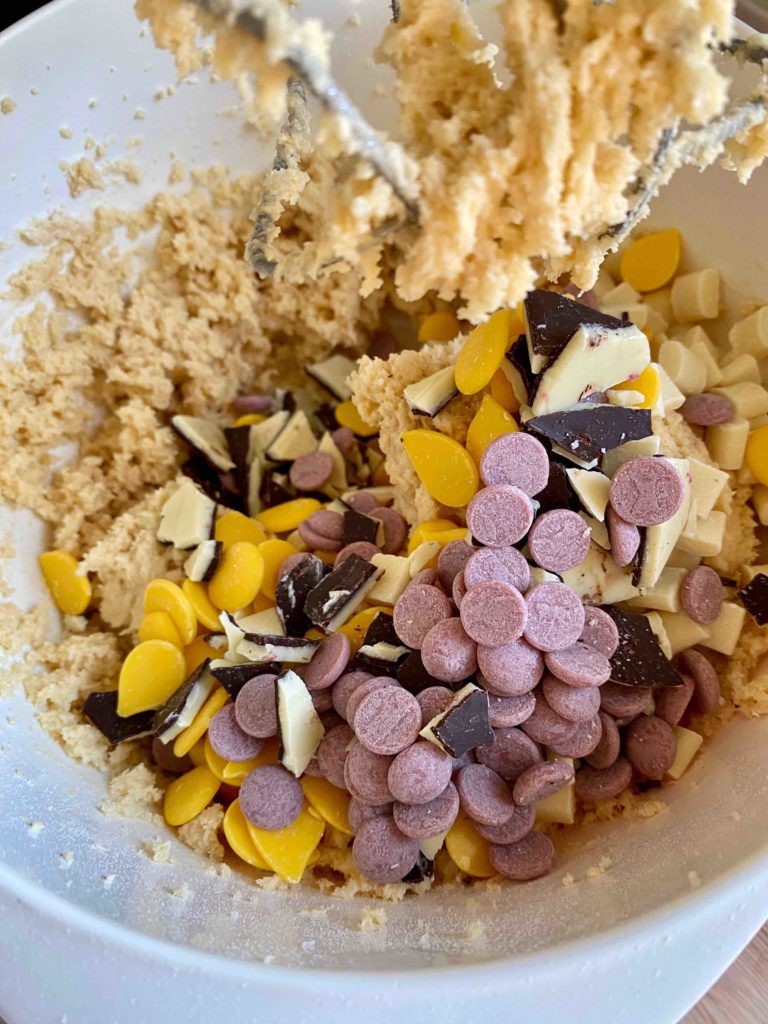
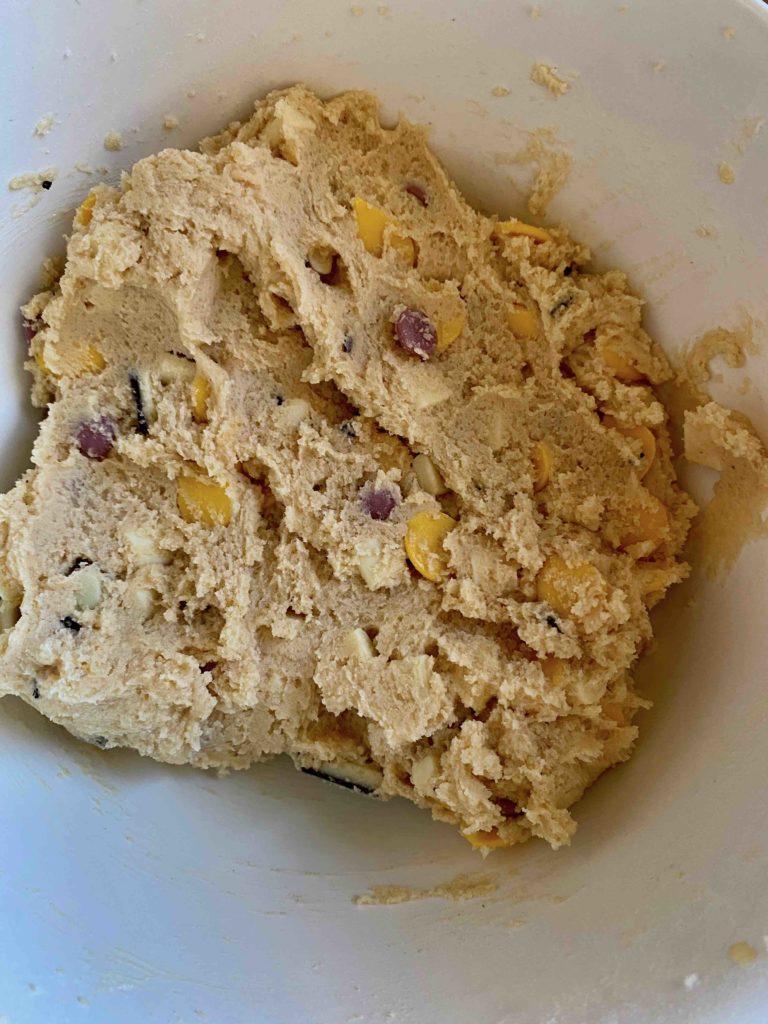
- Use the spatula to fold the white chocolate chunks, yellow cake melts and ruby chocolate evenly into the cookie dough
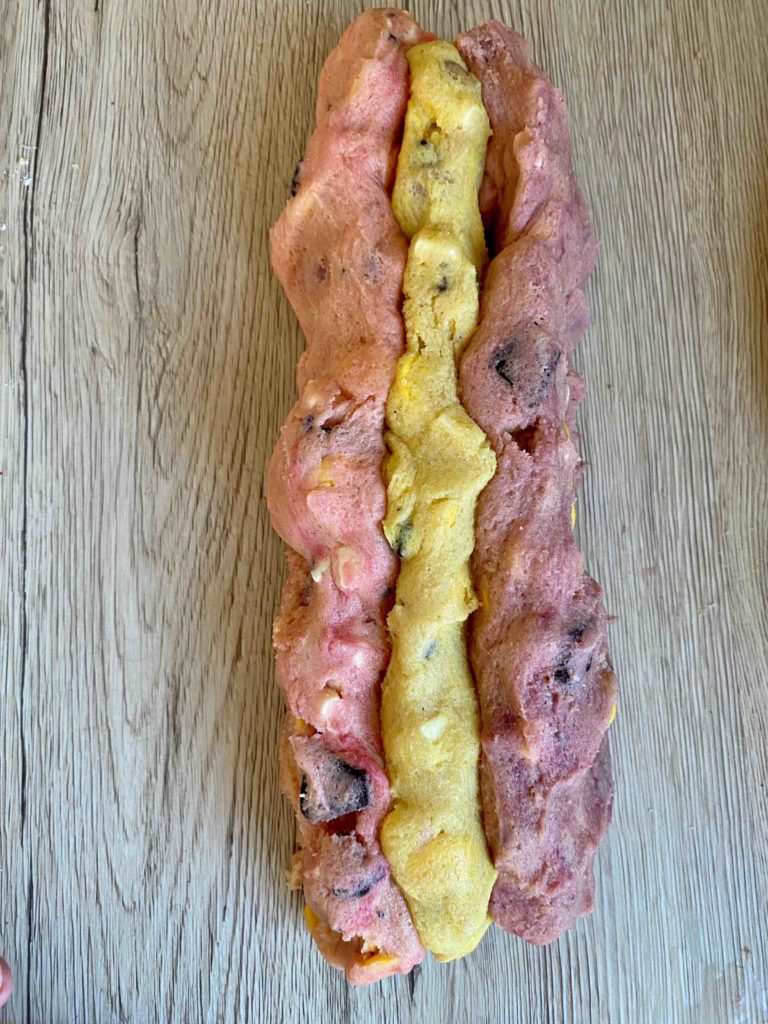
- Divide the dough into three parts and color each with 2 drops of food coloring (yellow, pink, purple).
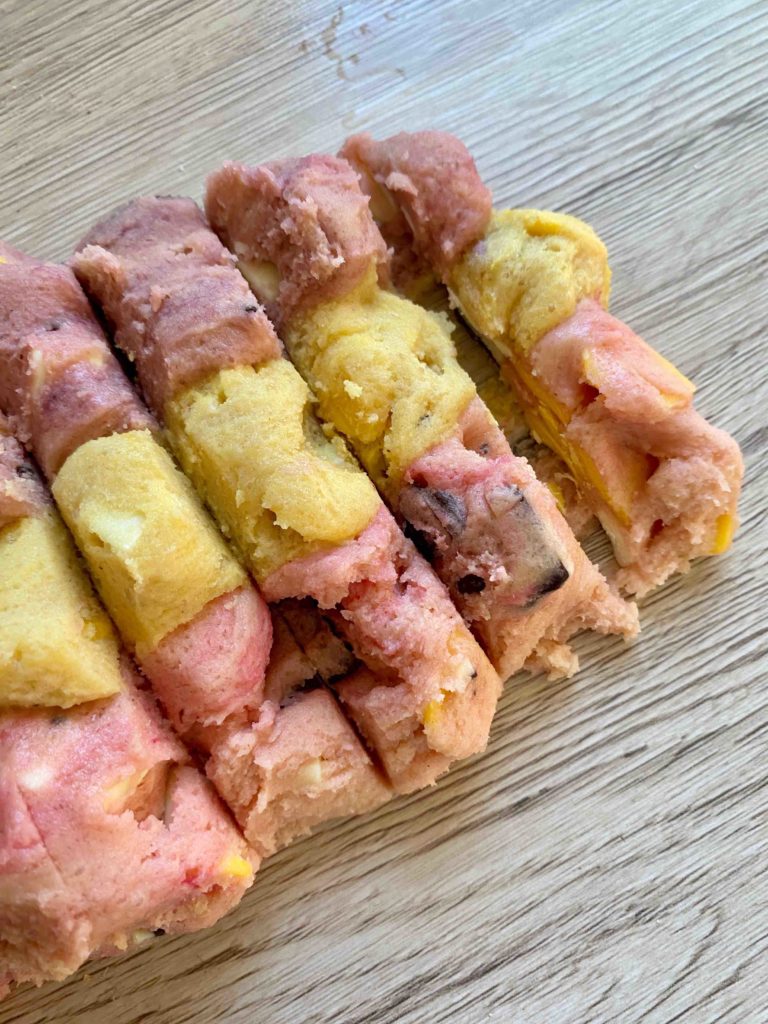
- Form the colored dough pieces into three rolls and then fold them into one large roll. Cut the large roll into 20 pieces with the kitchen knife. So that each part contains all three colors. The 20 pieces are formed into dough balls and chilled in the refrigerator for an hour.
- Spread the cooled dough balls about 4 cm apart on the baking tray lined with baking paper. Mini tip: Do not bake more than 9 cookies per tray, as the cookies will spread apart during baking and otherwise bake together
- Bake the Easter cookies for about 15 minutes at 170°C. Since ovens bake differently, you should take a look in the oven after 12 minutes: if the Easter cookies are slightly browned on the edges, they are ready and can be taken out of the oven. Even if they still seem raw in the middle, they continue to “bake” outside of the oven and turn out just right
- Let the Easter cookies cool on the tray for about 10 minutes and then let them cool well on the cooling rack. If you transfer them fresh from the oven to the cooling rack, they are still soft and not hardened and break easily!
Mini-Tip – Would you like to give away your delicacies as a lovely Easter gift? Then you will find great Easter gift tags, gift bags & labels for jars and cans to download in our shop.
Preparation in pictures


My kids & I wish you and your kids lots of fun mixing your colors & baking your Easter cookies!
We wish you a nice Easter time!
Yours, Lia
Have you baked the recipe?
How exciting! We're really happy about that! We are pleased that we were able to delight you with our recipe. Feel free to share your treat with us on Instagram using the hashtag #backenmitminis.
BAKING NEWS – The most delicious thing right in your inbox?
Sign up for our newsletter and be the first to hear about colorful recipe ideas, easy baking hacks and upcoming baking promotions!
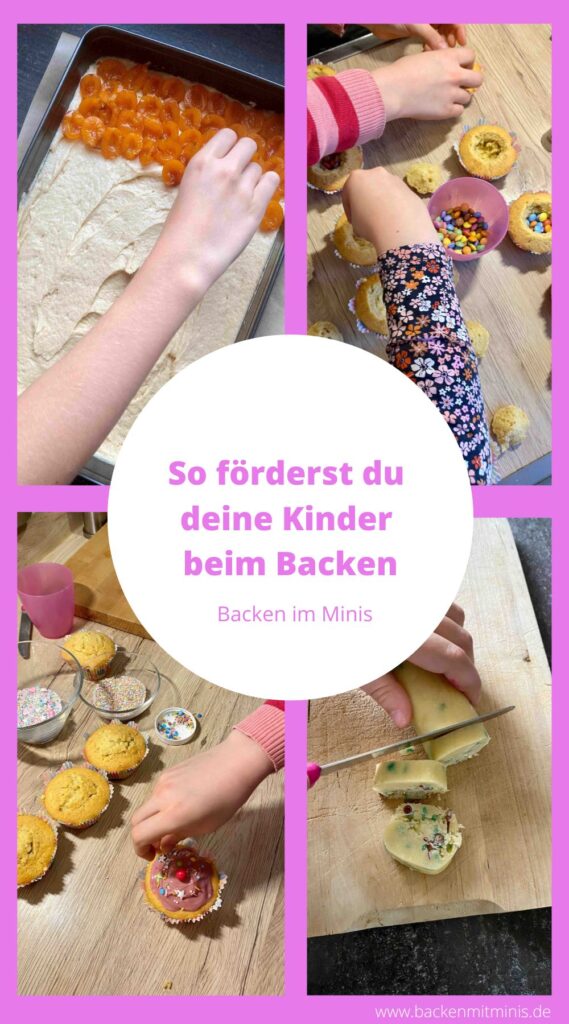
How to encourage your children to bake
Baking with children is much more than just a delicious treat that can be enjoyed together!
By baking with your child, you'll teach them many valuable things! Learn more about this in my blog post: How to encourage your children to bake!
To make baking a wonderful, shared experience for you and your little ones, you'll find tips for stress-free baking in the following blog posts:
- My tips for baking with children
- Baking tasks for children aged 2 and over
- Safety when baking with children
- Q & A about baking
Have fun baking! Yours Lia!

