
Baking with yeast dough is challenging for many hobby bakers! The dough sticks or just doesn't want to rise? You need to know these tips for baking with yeast dough! They will make baking with yeast easier for you.
For many hobby bakers, baking with yeast dough is a big challenge. Often the dough doesn't rise and the pastry doesn't turn out as fluffy as described in the delicious recipes. Why is that? Today I'm sharing with you my tried and tested tips for your yeast dough. I also tested myself a lot and was able to learn from my mistakes. Here are my tips for baking with yeast dough:
1. Fresh yeast or dry yeast
What yeast do you use when baking? I have to admit that since COVID I have preferred dry yeast for two reasons: 1. it can be stored dry in the baking drawer for quite a long time and 2. there is no need to prepare a pre-dough, the dry yeast can simply be stirred into the dry dough ingredients . This is exactly what you should pay attention to so that your dough made with dry yeast rises well: the dry yeast must be thoroughly mixed with the other dry ingredients. Only when it’s evenly distributed throughout the dough will the yeast dough rise beautifully and evenly.
For fresh yeast you have to make a batch out of fresh yeast, a little sugar and handwarm liquid, which should form bubbles on the surface after 10 minutes, then you can mix the batch into the rest of the dough.

2. Yeast activity (stability)
Yeast is a small organism (a mini-mushroom) that only rises when it is still active. In other words, if it is still “alive.” Inactive yeast will not sprout and therefore you will probably not get a satisfactory baking result with expired yeast. So make sure that the yeast you used is not expiredbefore you use it for your dough.
3. Warmth, warmth and more warmth
Yeast likes it warm! Nice and cuddly! From beginning to the end! So yeast doesn't like it cold or hot, but warm... —ideally lukewarm (some say “hand-warm”), around 35–38°C (95–100°F). This means the ingredients you use with yeast shouldn’t come straight from the refrigerator. Ideally, they should be lukewarm: lukewarm water, lukewarm milk, and eggs not straight from the fridge. I usually warm liquids briefly in the microwave or on the stovetop. Be careful—they must not be hot, only LUKEWARM! If I forget to take the egg out in time, I briefly hold it under warm water so it’s not too cold for the yeast. Butter and eggs are best at room temperature.
After kneading, the yeast dough likes to stay warm: covered with a dry tea cloth in a warm place—not in a drafty area. Yeast doesn’t like drafts. It feels comfortable, for example, on a floor with underfloor heating or in a warm kitchen. But again, it likes it warm, not hot. If you place it on a radiator to rise, put a few kitchen towels underneath the bowl so the dough doesn’t “burn” from below.
The yeast also likes it warm during processing! Therefore, it should ideally not be used on cold marble worktops; it prefers warm ones, for example warm wood tops.

4. Warning: heat!
I think it's clear from the previous tip that yeast likes it WARM, but IN NO WAY HOT ! Heat kills the organism, and the yeast will no longer rise. So make sure your yeast (except during baking) doesn’t come into contact with temperatures above 40°C (104°F). At over 45°C (113°F), the little yeast organism dies. Especially ensure that liquids are not too hot. A good rule of thumb: you should still be able to touch the liquid comfortably without it feeling unpleasant.
5. Knead until your arm hurts
Yeast dough needs your affection and time 😉 The yeast dough should be knead for a long time, maybe 8-10 minutes. Over time, the dough becomes more elastic and less sticky. This happens because the gluten network develops during kneading, helping trap air in the dough. Only when the dough is nice and elastic has it been kneaded enough—and then you can give your arm a break. Of course, you can also let a stand mixer do the work! If your yeast dough pulls away from the bowl easily and no longer sticks to your hands, it has been kneaded long enough.
My tip for kneading by hand: instead of adding too much flour and risking a dry dough, lightly oil your hands with a neutral oil. For savory dough, you can also use aromatic oil like olive oil.
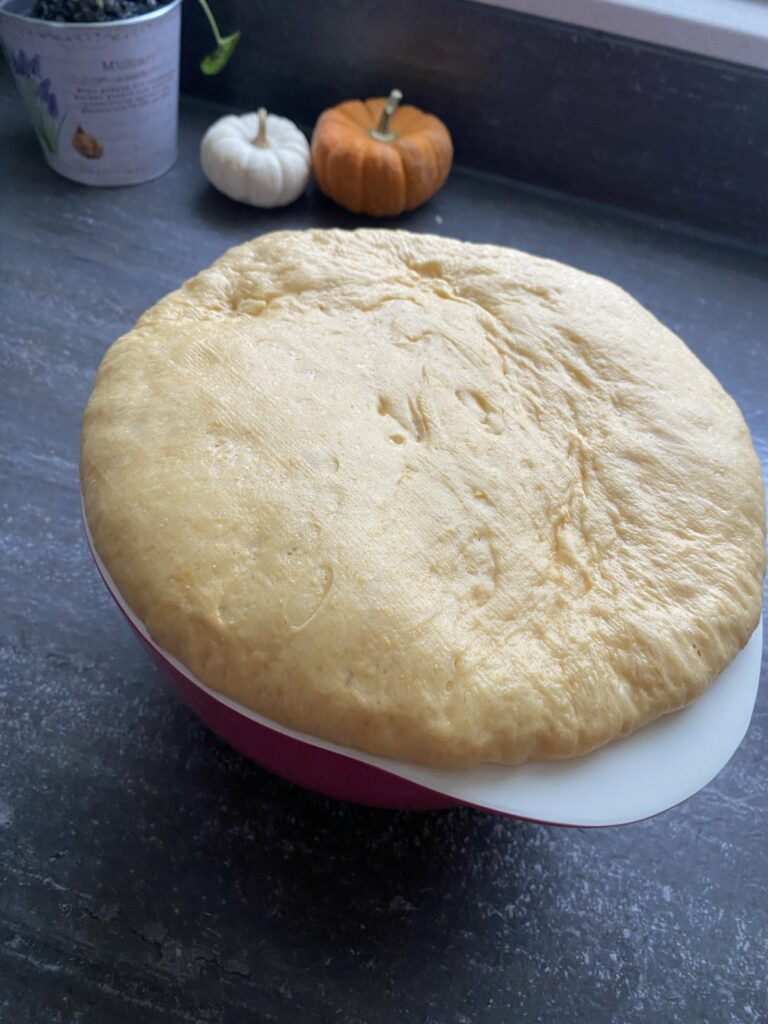
6. Let it rise twice
The yeast dough not only needs your affection and time, but also your patience! It doesn't want to rise just once, but twiceThe first rise takes about 60 minutes after kneading the ingredients together. The second rise happens after the first rise, once you’ve briefly kneaded it again and shaped it into its final form (divided into rolls, rolled into swirls, etc.). Before baking, let it rest and rise again for about 30 minutes.
The longer the yeast dough rises, the more flavorful and easier to digest it becomes. You’ll also notice that longer rising times make it airier.
Mini tip: I usually put my finished yeast dough in the oven that has not yet been preheated. So I use the time while the oven is warming up to let my yeast baked goods continue to “rise”. Of course, the baking time of the recipe only counts once the oven has heated up.
7. Please with a Crust!
If you want to bake yeast bread with a beautiful crust, place a baking tray or bowl with hot water in the oven. The steam helps develop a better crust.
At the beginning of baking, the steam prevents the surface from drying out too quickly, keeping it soft and stretchable. This allows the bread to expand better. Without steam, a firm crust forms too early and the bread stays flatter.
After a few minutes, once the steam escapes, the surface dries more quickly and forms a crispy crust. The crust becomes slightly glossy and beautifully crunchy. The moist heat also enhances roasted flavors.
That’s why it’s especially recommended to bake yeast breads and rolls with steam!
First aid for your yeast dough
Did you see these tips too late and now need to rescue your yeast dough? Here are my emergency solutions:
My yeast dough is sticking. What can I do?
Maybe you didn't knead your dough long enough? If this is already the solution, knead it a little longer. A yeast dough needs to be kneaded well (8-10 minutes).
If you have kneaded the dough for a long time but it is still sticky and not elastic, add a little flour in portions. Start with a tablespoon of flour (10g) and knead for another 2 minutes. The dough shouldn't be too dry, so work in batches. Do not use more than 50g.
My yeast dough is dry and crumbly. What can I do?
Your dough seems to have too little liquid. In order for the yeast to ferment well, it is important that it has enough liquid. If your dough is dry and crumbly, add a little more lukewarm liquid (water or milk, depending on the recipe). Here too, start with a small amount of one tablespoon. Then knead the dough for 2 minutes until the liquid is well incorporated into the dough. If the dough is still not elastic, repeat the process until the dough becomes elastic. But always remember: small amount of liquid and then knead well for 2-3 minutes! Don't make the mistake of adding too much liquid right away or your dough will be soggy!

My yeast dough doesn't rise. How can I save him?
Have you followed all the tips for yeast dough and your dough still doesn't rise? We won't give up so easily! There are other ways to get your yeast dough to “rise”.
With moisture and warmth: a steam bath for your yeast dough
Fill a tall baking tray with boiling water and place it on the bottom shelf of your oven. Then place the bowl with the dough covered with a dry towel in the middle of the tray and close the oven door. Now your yeast dough can enjoy a bit of wellness in the steam bath. The moist heat will help the yeast cultures develop and your dough should give up.
With a new approach: your yeast dough gets support
Another option is to support your yeast dough with a second batch of dough. To do this, mix a sachet of dry yeast, 250 ml of lukewarm water or milk, 2 tablespoons of flour and 1 tablespoon of sugar into a smooth mixture. Let this rise for 15-20 minutes until small bubbles form. Knead this second batch into your yeast dough and add flour until the yeast dough reaches the desired consistency. Now you let the dough rise for an hour and then you should be able to process your dough as desired!
Can my yeast dough also rise in the refrigerator?
The answer is very simple: yes, it just takes a little longer. If you need your dough (e.g. pizza dough) for the next day, you can prepare the dough the day before and then let it rise at room temperature for about 1 hour. Then put it in a tupperware container or bowl and cover it with cling film. It should rest in the fridge for 12-18 hours and the following day you will have a delicious, fresh yeast dough.
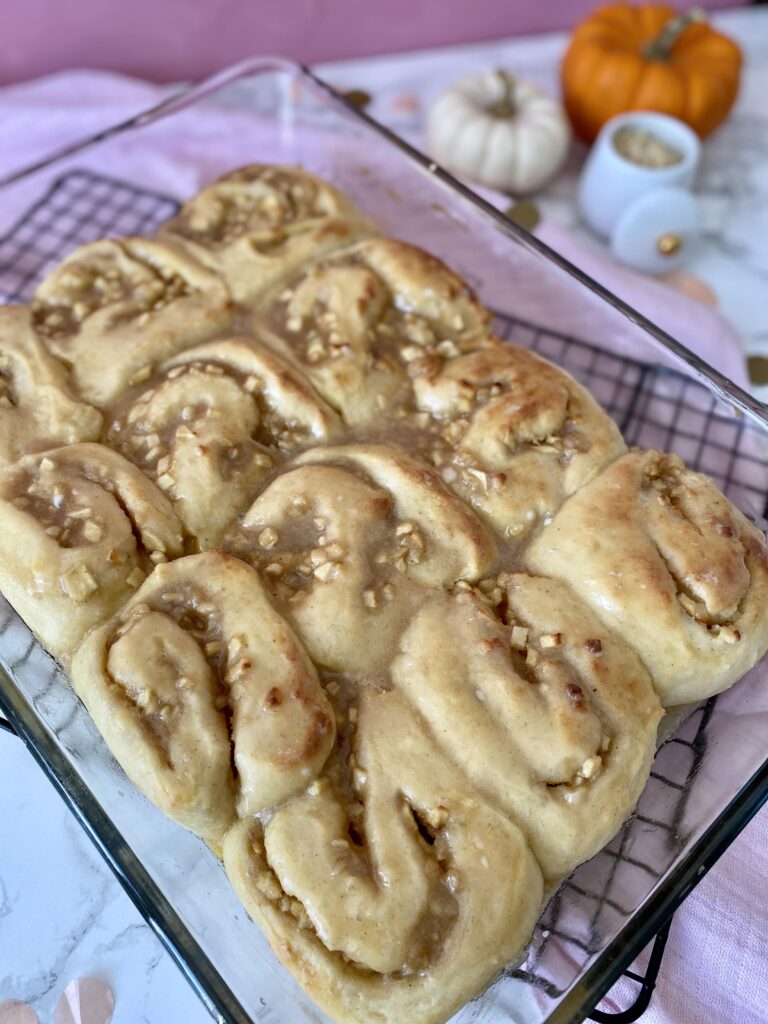
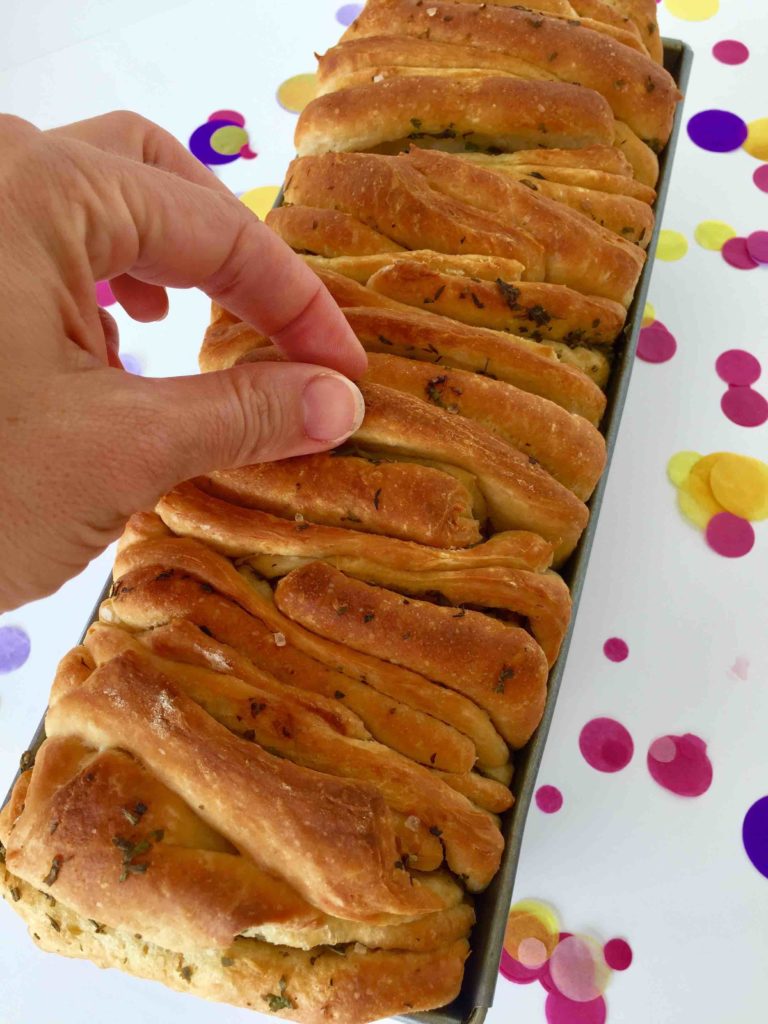
Delicious recipes with yeast dough


I hope that my tips for yeast dough and my rescue measures were able to help you achieve a smooth dough and a successful baking experience.
I hope you have fun baking and then enjoying it!
Yours, Lia

How to encourage your children to bake
Baking with children is much more than just a delicious treat that can be enjoyed together!
By baking with your child, you'll teach them many valuable things! Learn more about this in my blog post: How to encourage your children to bake!
To make baking a wonderful, shared experience for you and your little ones, you'll find tips for stress-free baking in the following blog posts:
- My tips for baking with children
- Baking tasks for children aged 2 and over
- Safety when baking with children
- Q & A about baking
Have fun baking! Yours Lia!
Have you baked the recipe?
How exciting! We're really happy about that! We are pleased that we were able to delight you with our recipe. Feel free to share your treat with us on Instagram using the hashtag #backenmitminis.
BAKING NEWS – The most delicious thing right in your inbox?
Sign up for our newsletter and be the first to hear about colorful recipe ideas, easy baking hacks and upcoming baking promotions!